
Adding Style and Function to a Small Backyard with an Above-Ground Swimming Pool

Yes…It’s Actually Possible!
Even if space or budget are limitations, you can have the Backyard Oasis of your dreams! Today I’m sharing my top design and style tricks, including lots of affordable DIY solutions to design a space where you and your family can create wonderful summer memories! So pour yourself a lemonade and settle in to learn how to get started!
Summer is here…get your backyard ready!
It’s been a minute since the last blog post…but we just wrapped up 15 months of quarantine and homeschool. My eldest son with special needs has been vaccinated and there is a light at the end of the tunnel as all four kids are finally off at camp! Let’s just say there is lots of excitement in the air!! For my kids too… : )
The experiences and lessons were varied and hard and so painful for so many people during Covid, and continue to be in many parts of the world. But there was certainly a resiliency that was humbling and encouraging to see. So many people hunkered down and did what they had to do - they did what was best for their families and their communities! People got creative and tried new things in big, important ways as well as small, seemingly insignificant ways.
I wanted to share one of those small-in-the-big-scheme-of-issues solutions that helped get us through last summer in our little corner of the earth here in HOT HOT Miami. It ended up actually being a wonderfully surprising addition to our home and answered an age-old question I had. Can you make an above-ground pool look nice? I’ll let you be the ultimate judge of that when you see the pictures and read the tips and tricks below. It’s a loaded blog post, so really do grab that drink. Settle in and read on to learn more about choosing an above ground pool that suits your needs as well as design solutions and decorating ideas to add some style to your above-ground pool and backyard, even on a budget and no matter the size. I’ve included links throughout for as many items I used as possible. Please let me know if you need any other information in the comments below. I’d be happy to share!
our usual plan for summer
I’ll preface by saying that my husband and I usually plan for the kids to be in bodies of water as often as possible due to the Miami heat in the summers. We look for camps that have tons of water activities, especially since we have never had a pool of our own. We were actually in talks with the city for a variance to be able to build a pool when quarantine began since we are at capacity of the ratio of build-out/green space that the code allows. Swimming is one of the few activities every member of our family can enjoy together, given our son’s limitations.
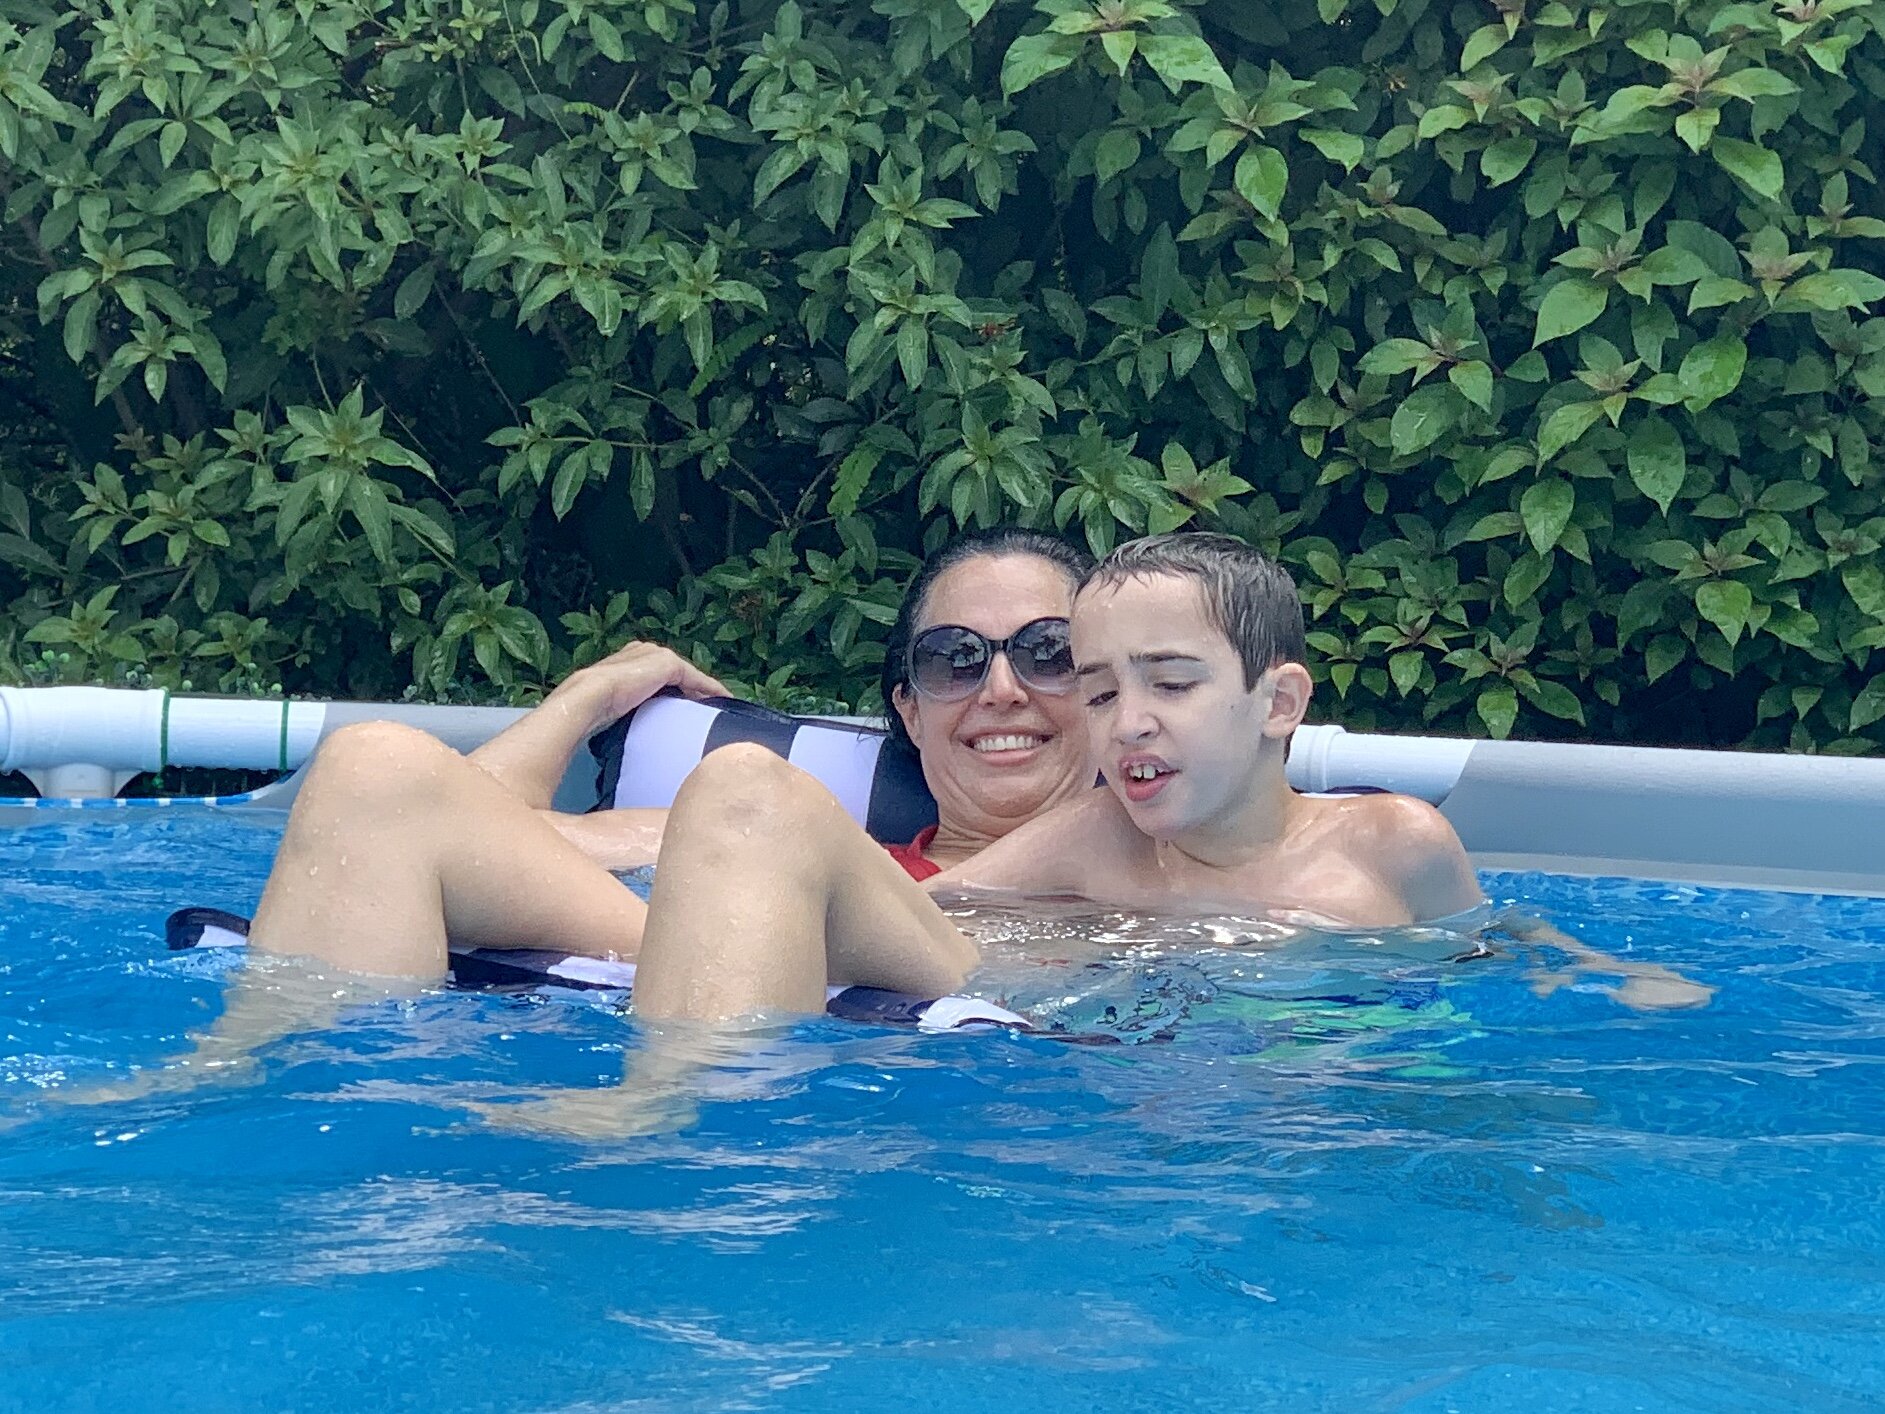
Water is basically Santiago’s most natural element and he is happiest when he’s swimming. The thought of not being able to access a pool for an entire closed down summer was almost too much to bear. I was a woman on a mission…and as many of you know, a determined mom is one of the fiercest creatures there is!
Queue the lightbulb…An above ground swimming pool!!
As a Florida girl raised around in-ground pools, above-ground pools are not the most common solution in our area, so it truly wasn’t an immediate thought. And as a designer, I will admit my resistance to staring at a big chunk of plastic in the middle of my yard. I mean, can above ground pools really be attractive?!? But necessity is certainly the mother of invention and there began a fun DIY journey that fulfilled our swimming dreams, AND kept my creative wheels turning during a period when I wasn’t able to work with clients!
I was determined to slap some lipstick on this little piggy. I would make our above-ground pool look as attractive and as chic as possible, and have it serve my family not only for last summer but potentially longer. And so it has for the past 12 months. We recently wrapped up some final details in the backyard and I wanted to finally share it! Yes, life is moving on and people are back to planning vacations…but I honestly recommend an easy solution like this if either space, money or any other barrier is keeping you from being able to enjoy some down time in your own backyard! Read along to learn how we made many of our backyard dreams come true, even in ways we would never have imagined.
SELECTING AN ABOVE-GROUND POOL
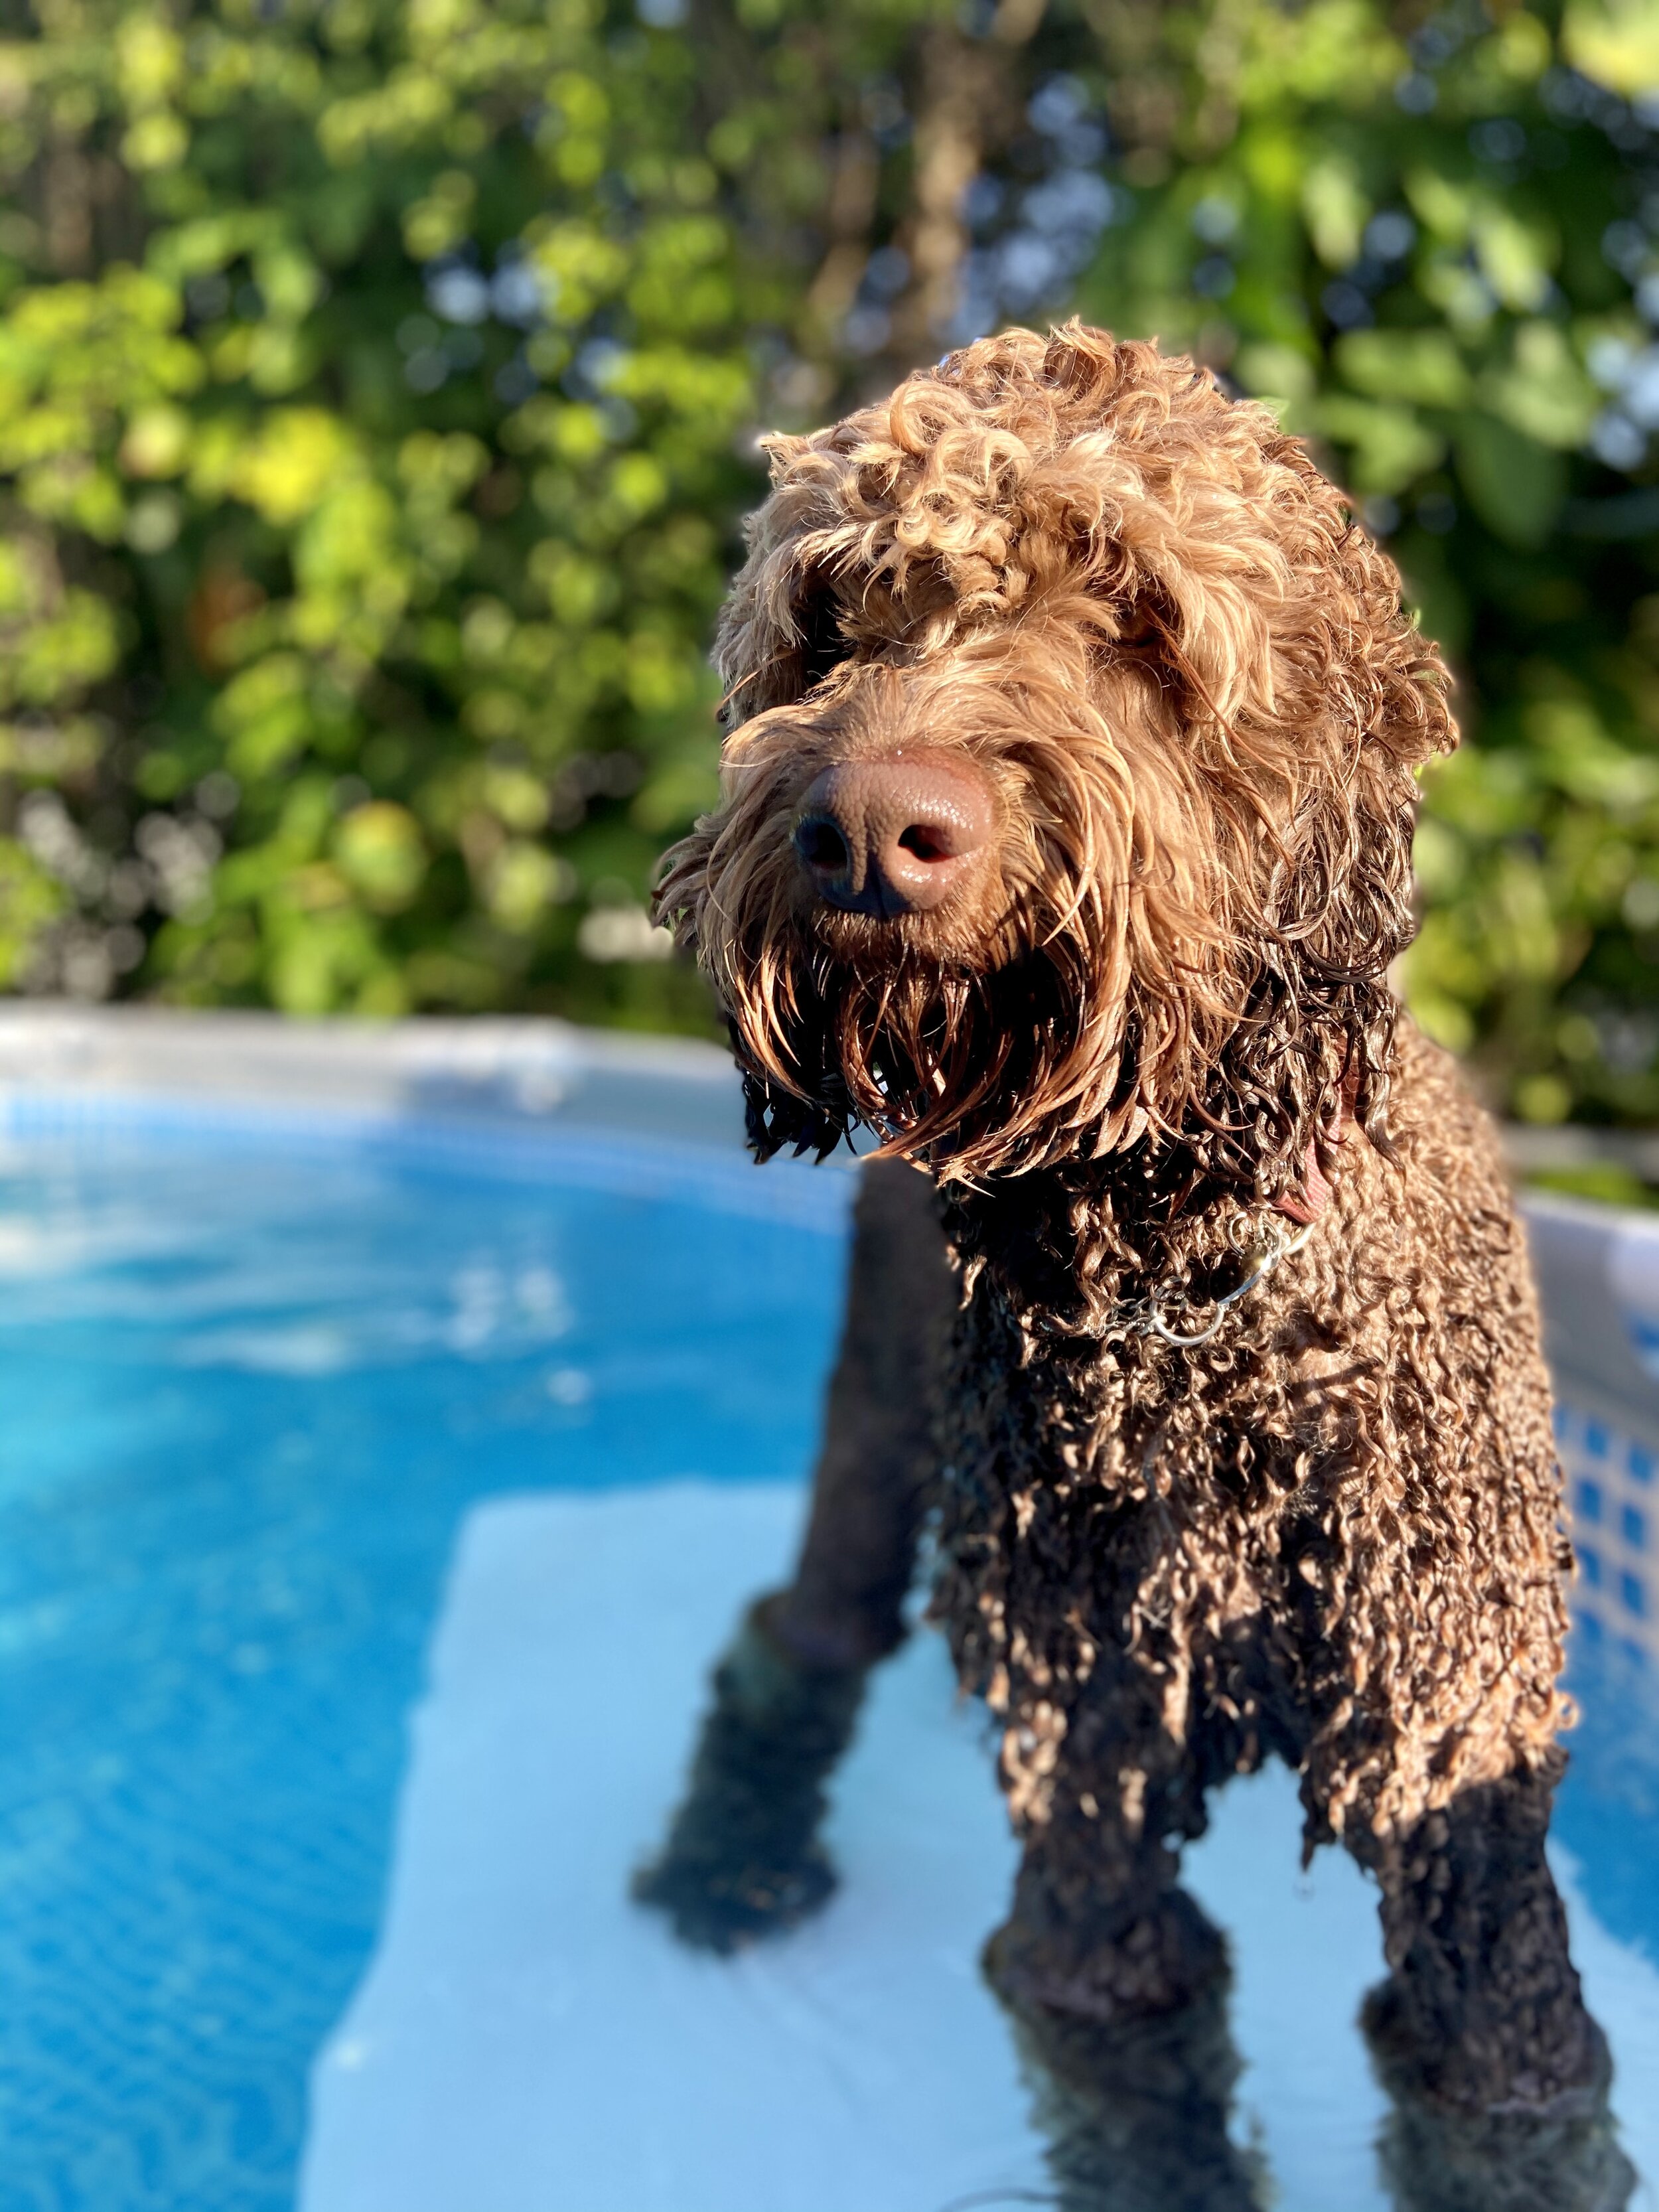
There are so many styles, models, sizes and construction types available in the above ground pool market. And last summer they were almost impossible to find since so many others were clearly coming up with my brilliant idea ; ) We ended up finding a new one on eBay and happily paid the extra $200 compared to what it would have otherwise cost online, given the fact that there was none in stock anyway. We never considered inflatable options. We have a full size Labradoodle who thinks she’s the 5th child and participates in all her littler-mates’ shenanigans. The probability of her popping an inflatable was too great not to mention the intensity of just the human kids alone.
And an expensive semi-permanent one with stiff walls was tempting but also out of the running…because of the investment that would be needed as well as installation logistics. So we landed on an Intex pool from their Prism line with a 15 feet diameter and 48” height. We wanted the kids to have real swimming and jumping potential. It was a good top-of-the-range height, though there are some taller ones too. And best of all we could whip this one up ourselves. I’ll get to how we’d be actually “jumping” into it shortly.
CONSIDER SHAPE AND PLACEMENT
The less space you have, the more creative you new to get! Our backyard is compact and L-shaped so here is where the “design considerations” began. In order to make a space feel as large as possible, the placement of the biggest items needs to be well thought out. You typically want these to be in the furthest corner of a space in order to not overpower it. This also makes the space look larger by drawing the eye towards it and helping define the boundaries. So we chose to push up our pool to the biggest corner instead of trying to float it anywhere.
We also considered its shape since we knew we had such a small yard. Shapes can be such fun in designing actually! Perhaps a rectangular pool could have “fit” just as well in terms of function, but the round shape we chose really did a lot to add some dynamics to the yard’s layout. It immediately tricks the eye into thinking it’s somehow smaller than it really is and allows it to blend more into its surroundings rather that overpower them. Ultimately we wanted to the space to feel one with nature…not compete with it!
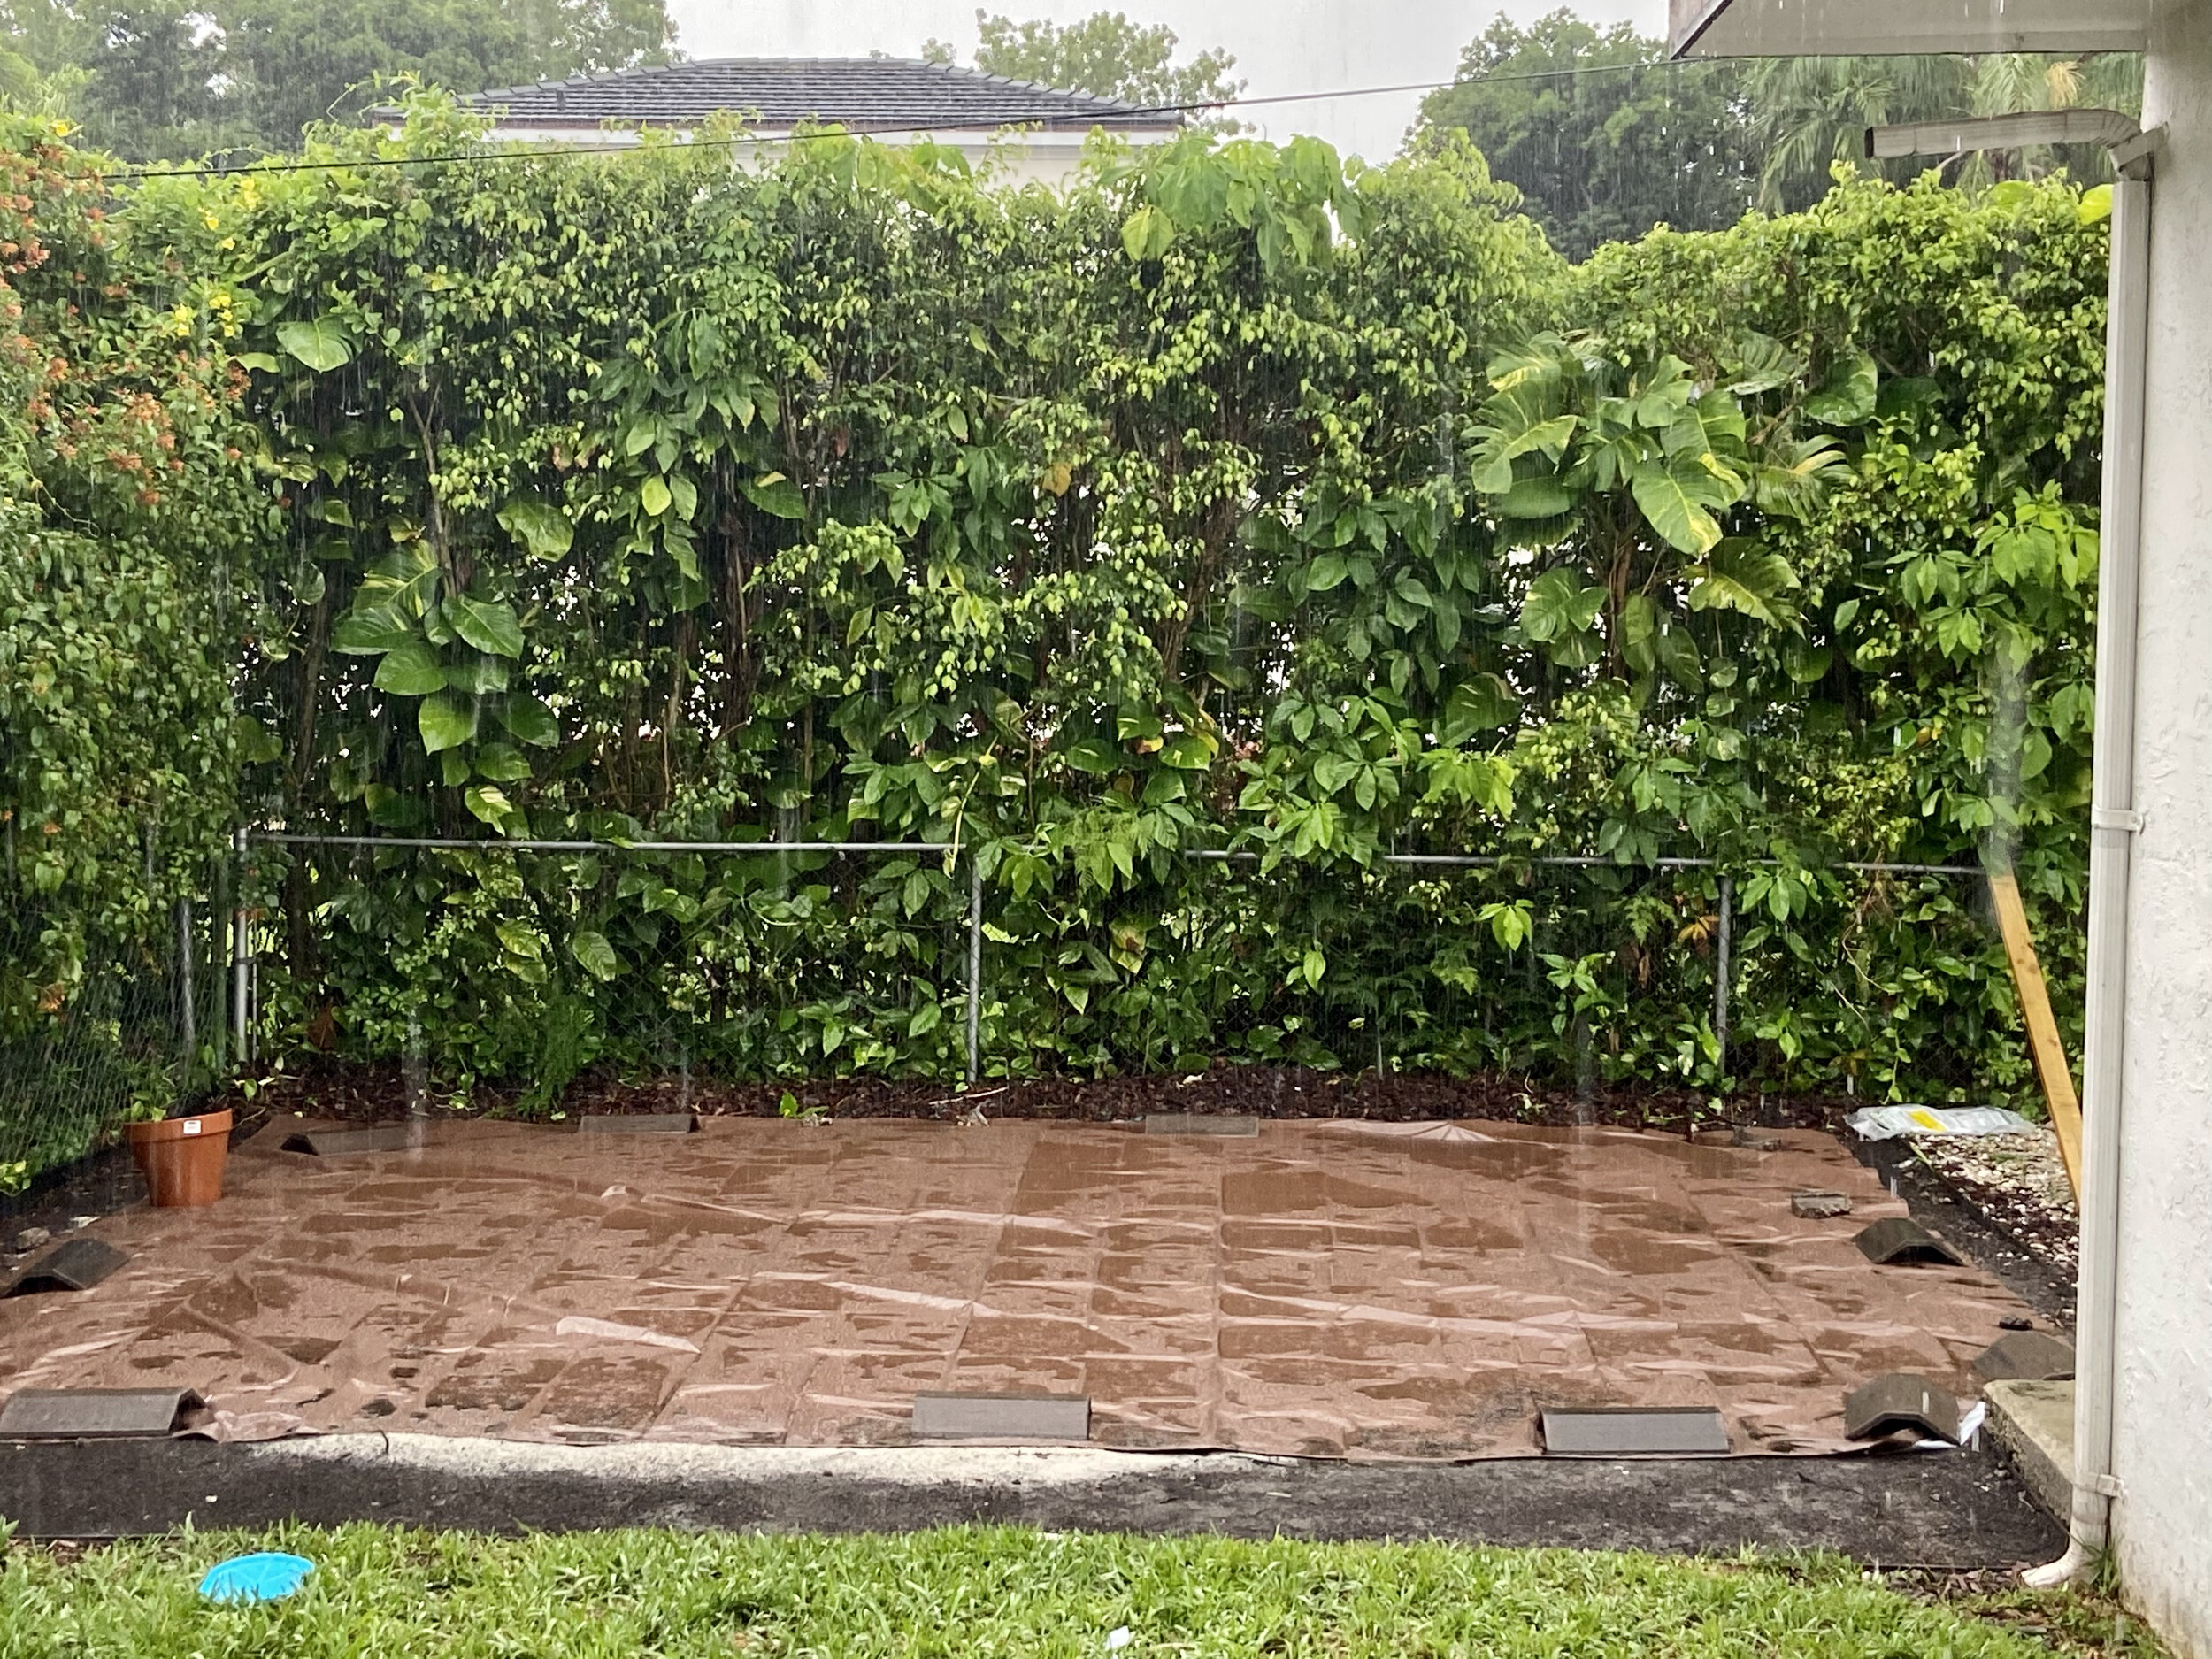
TIME TO PREP THE GROUND
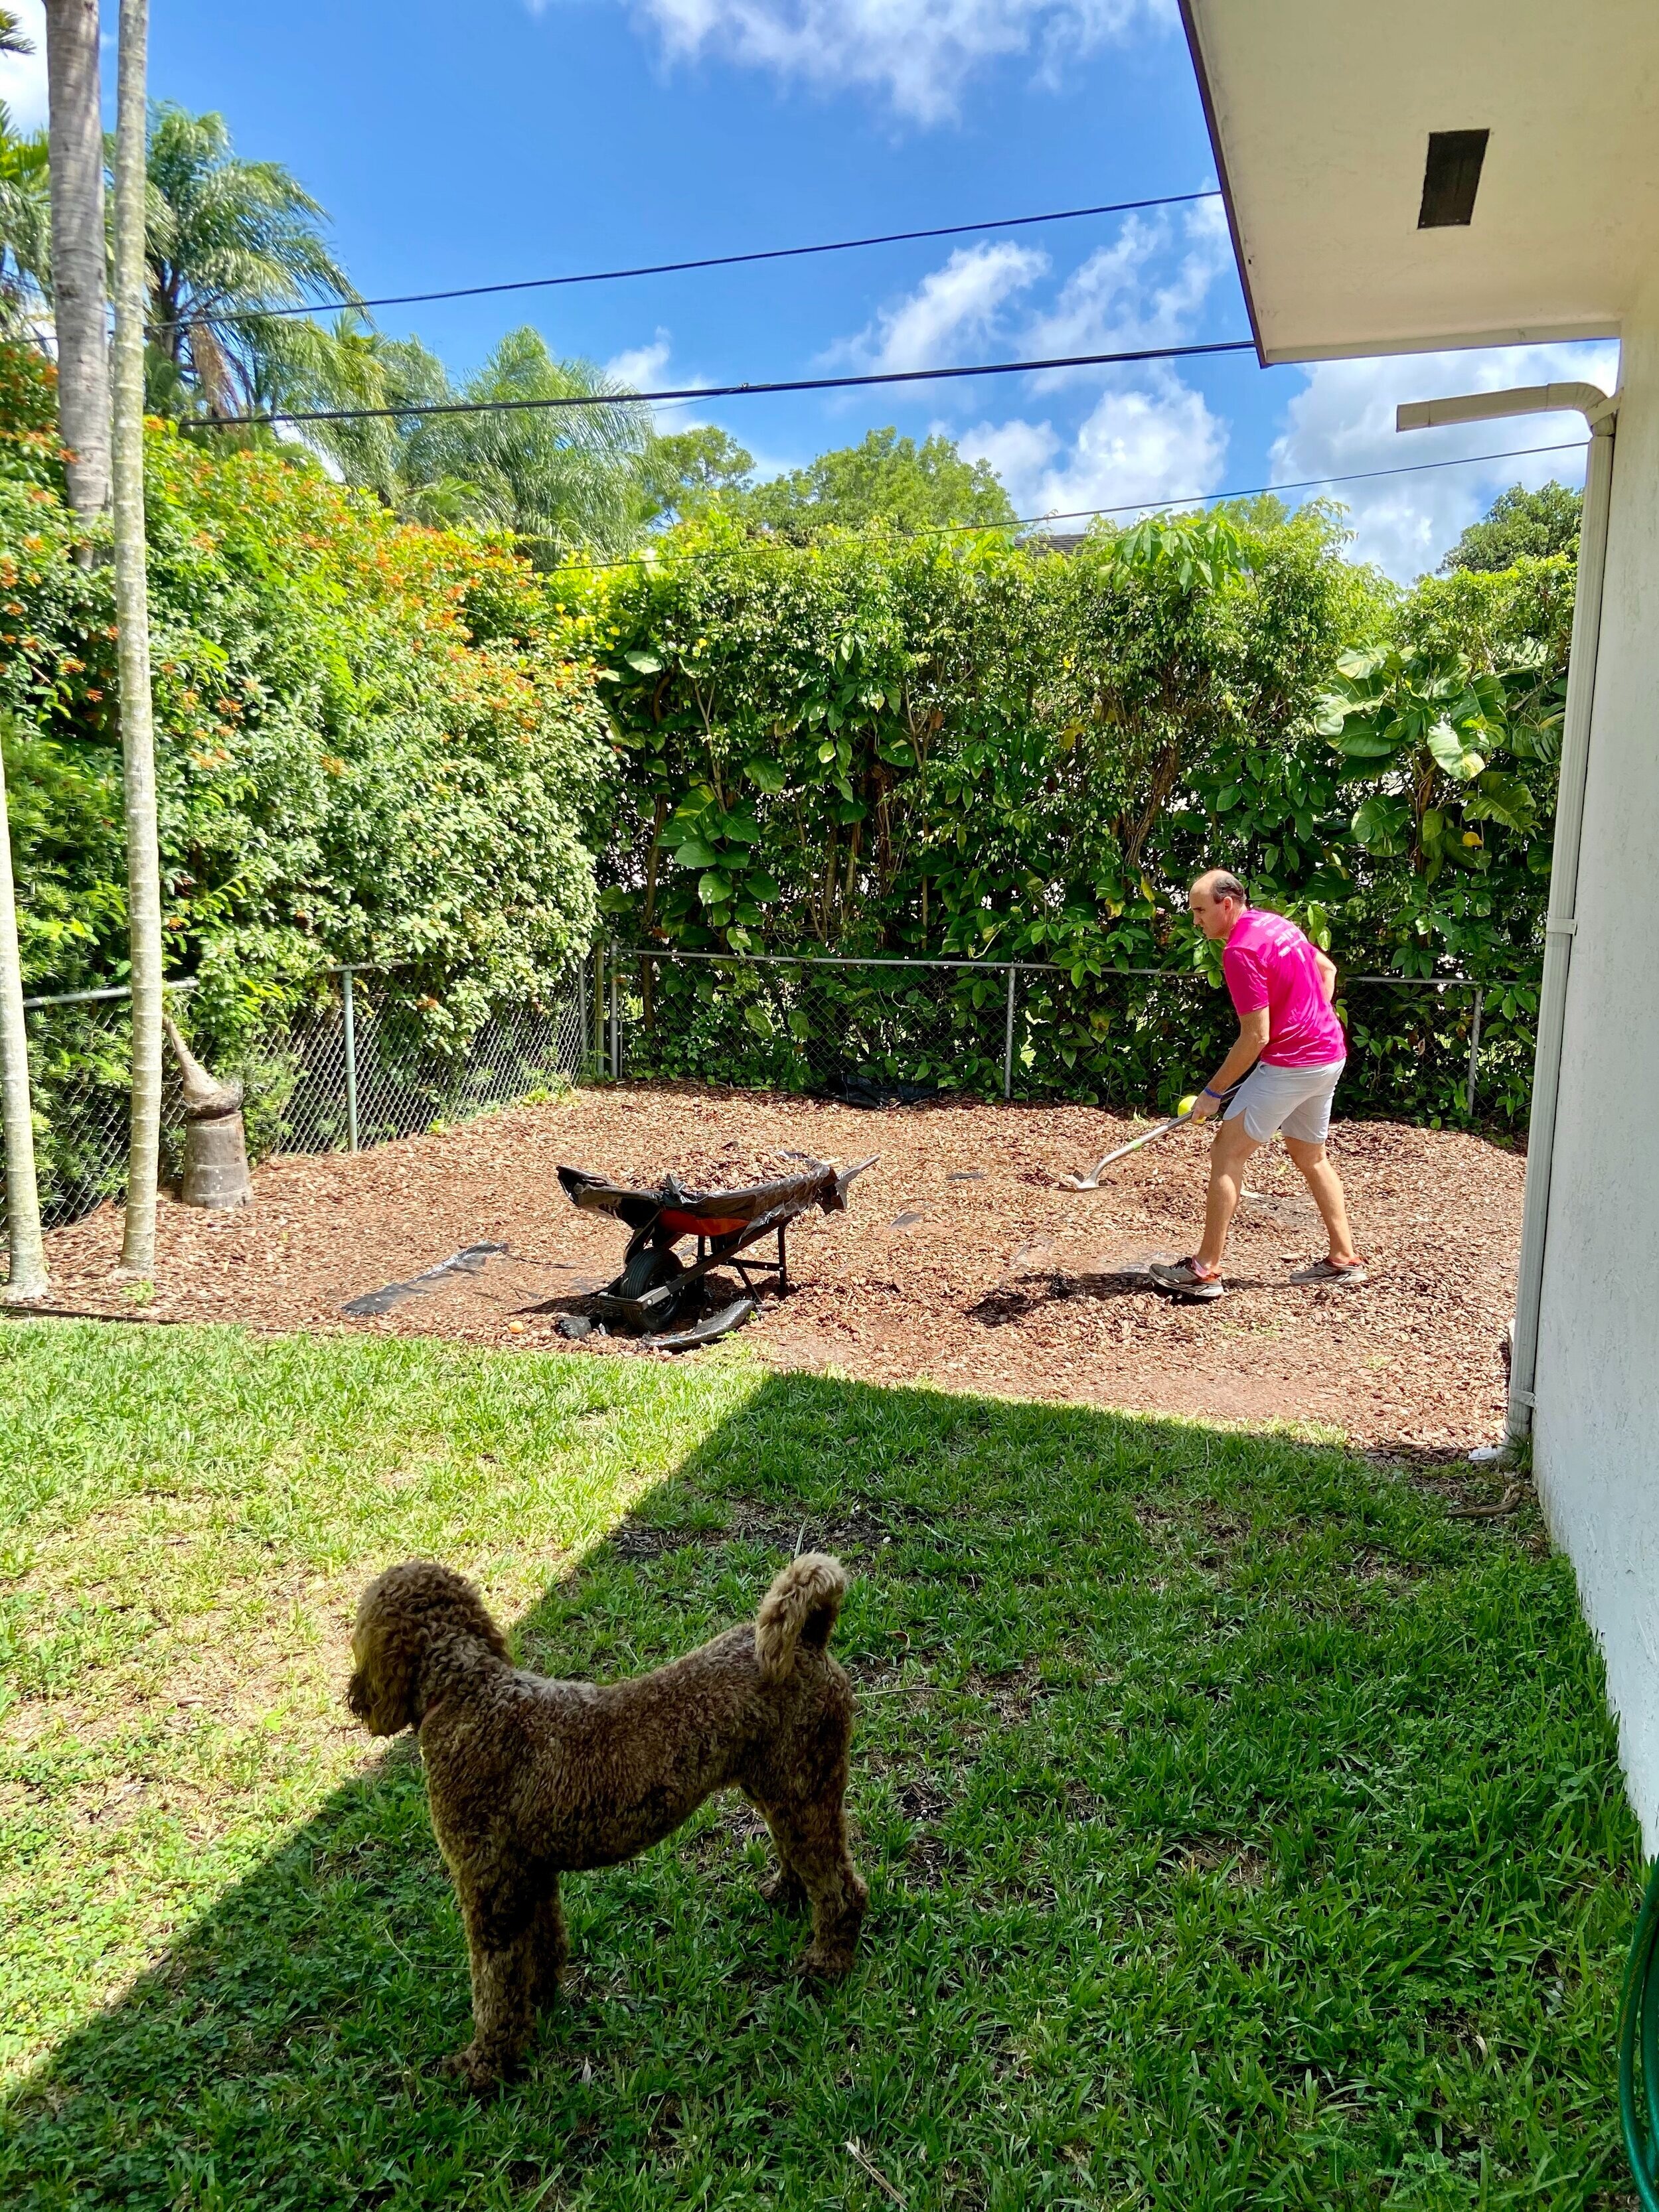
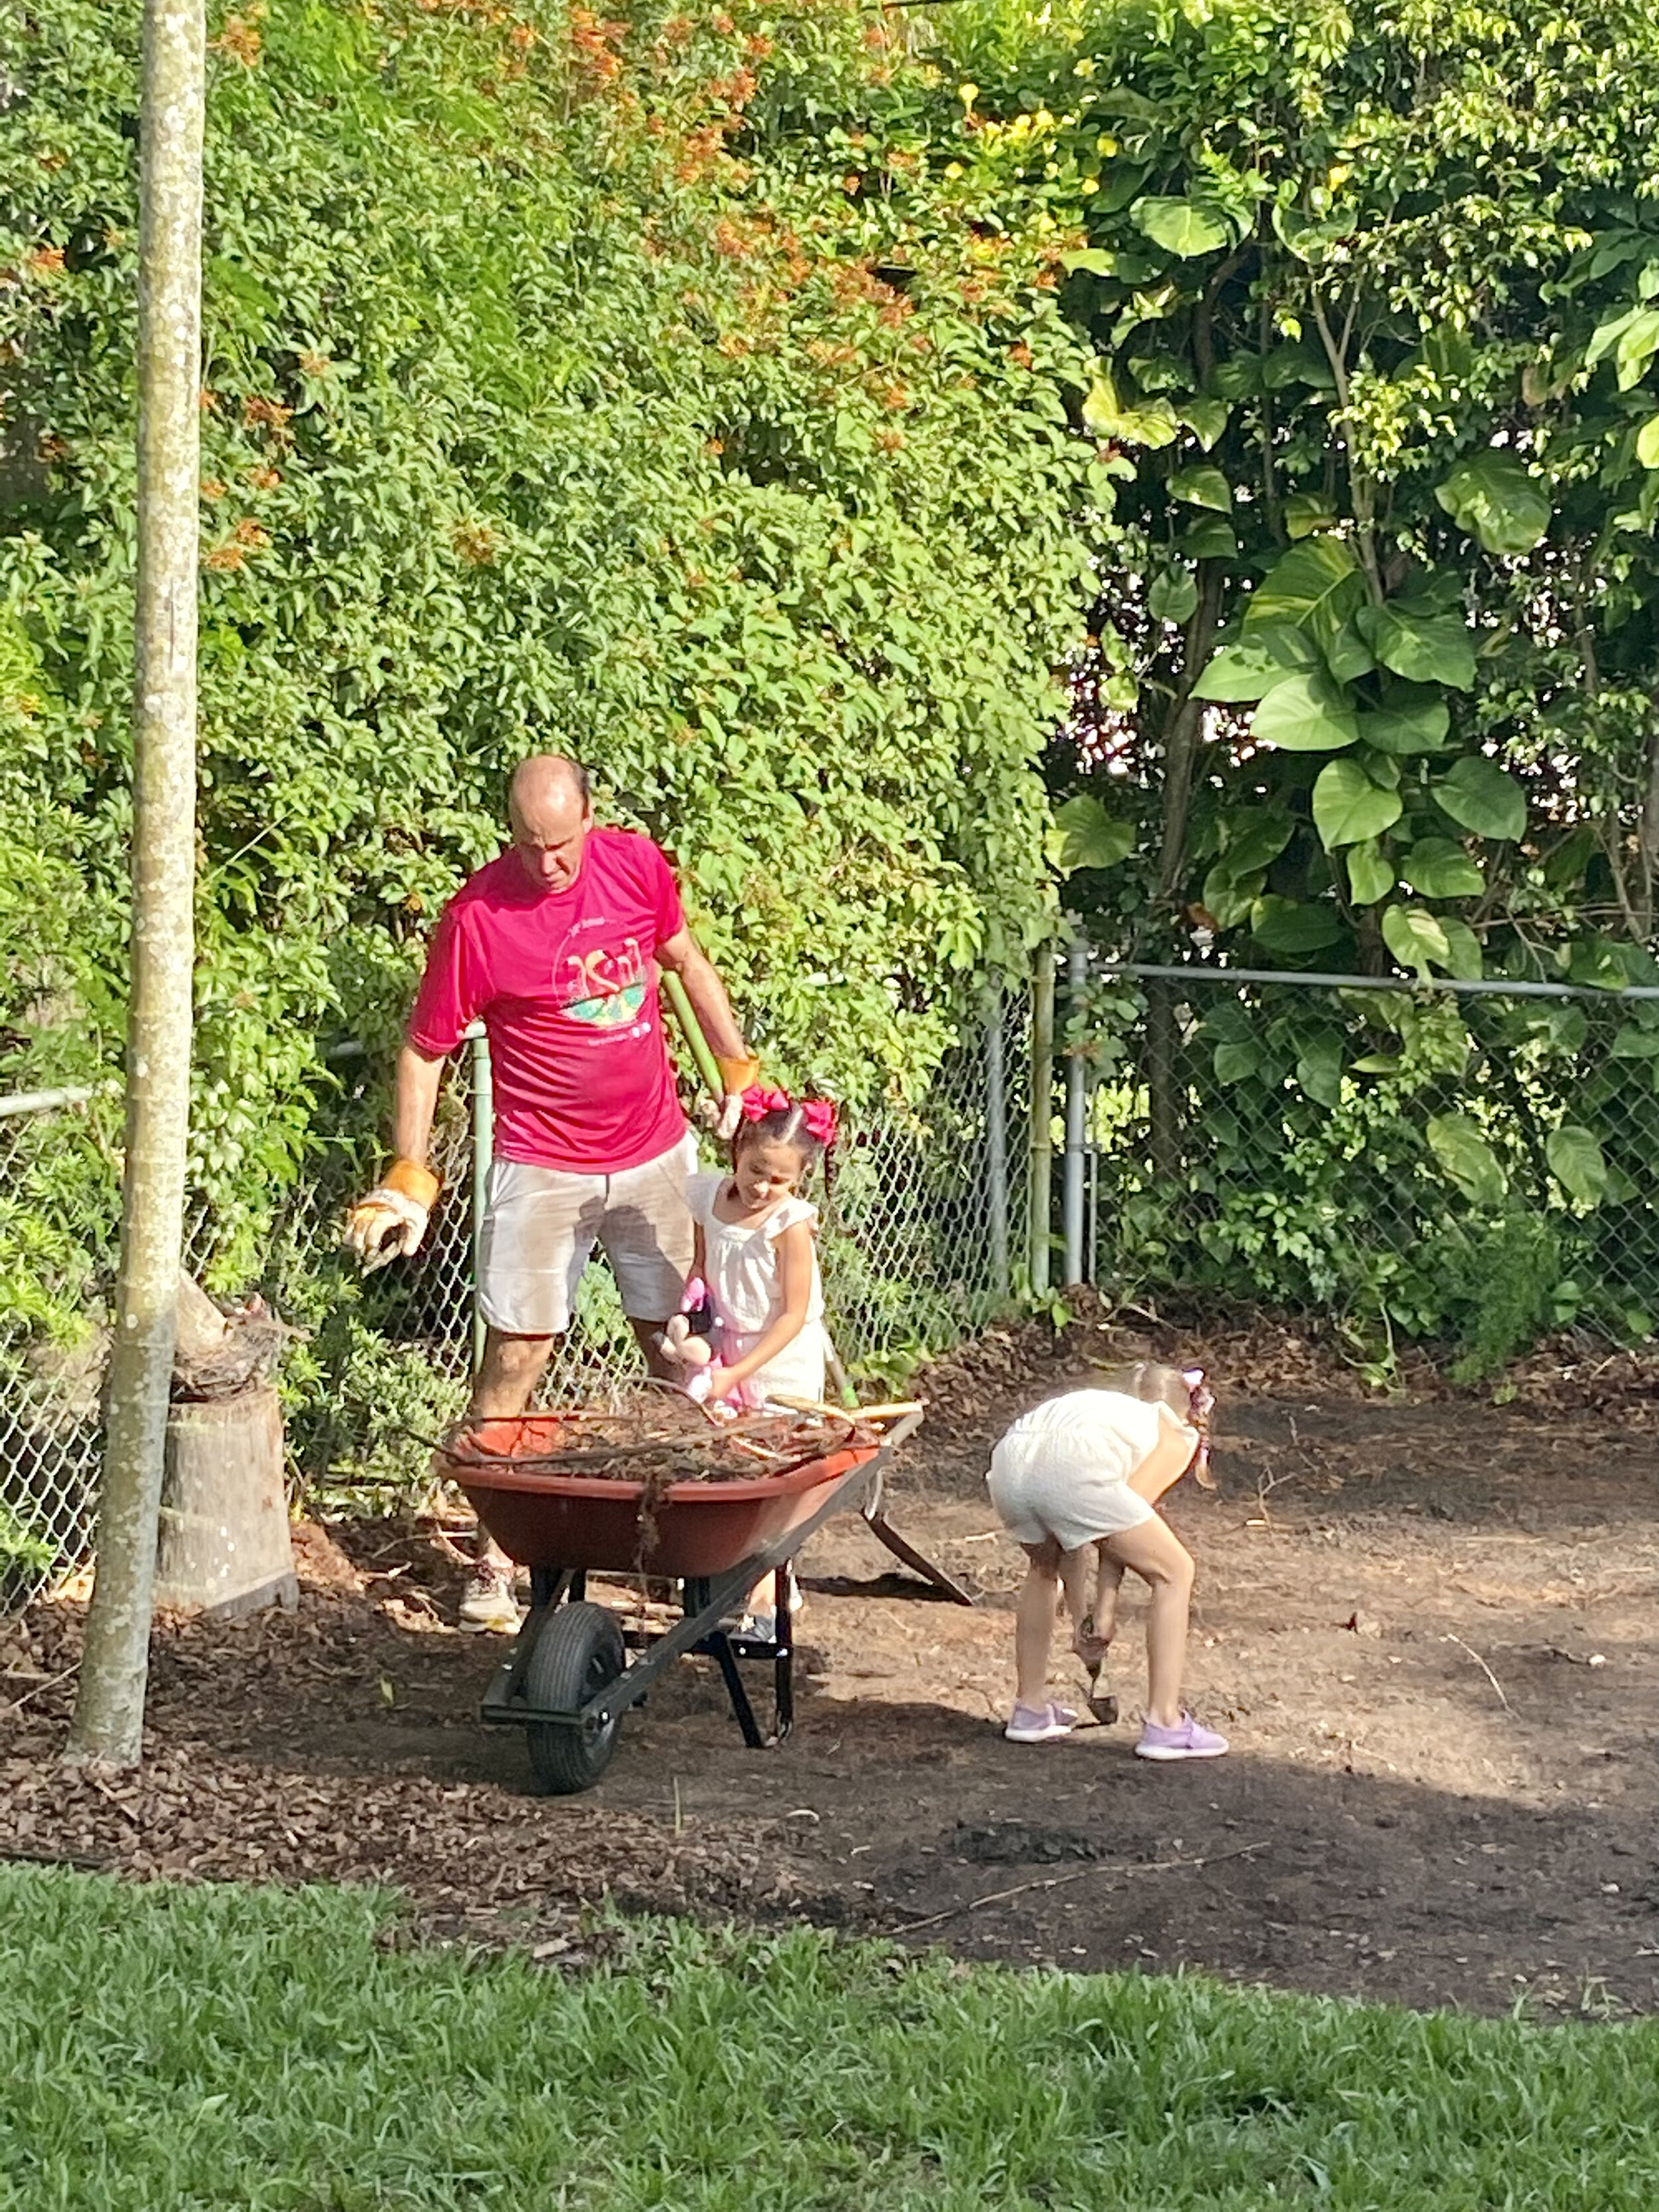
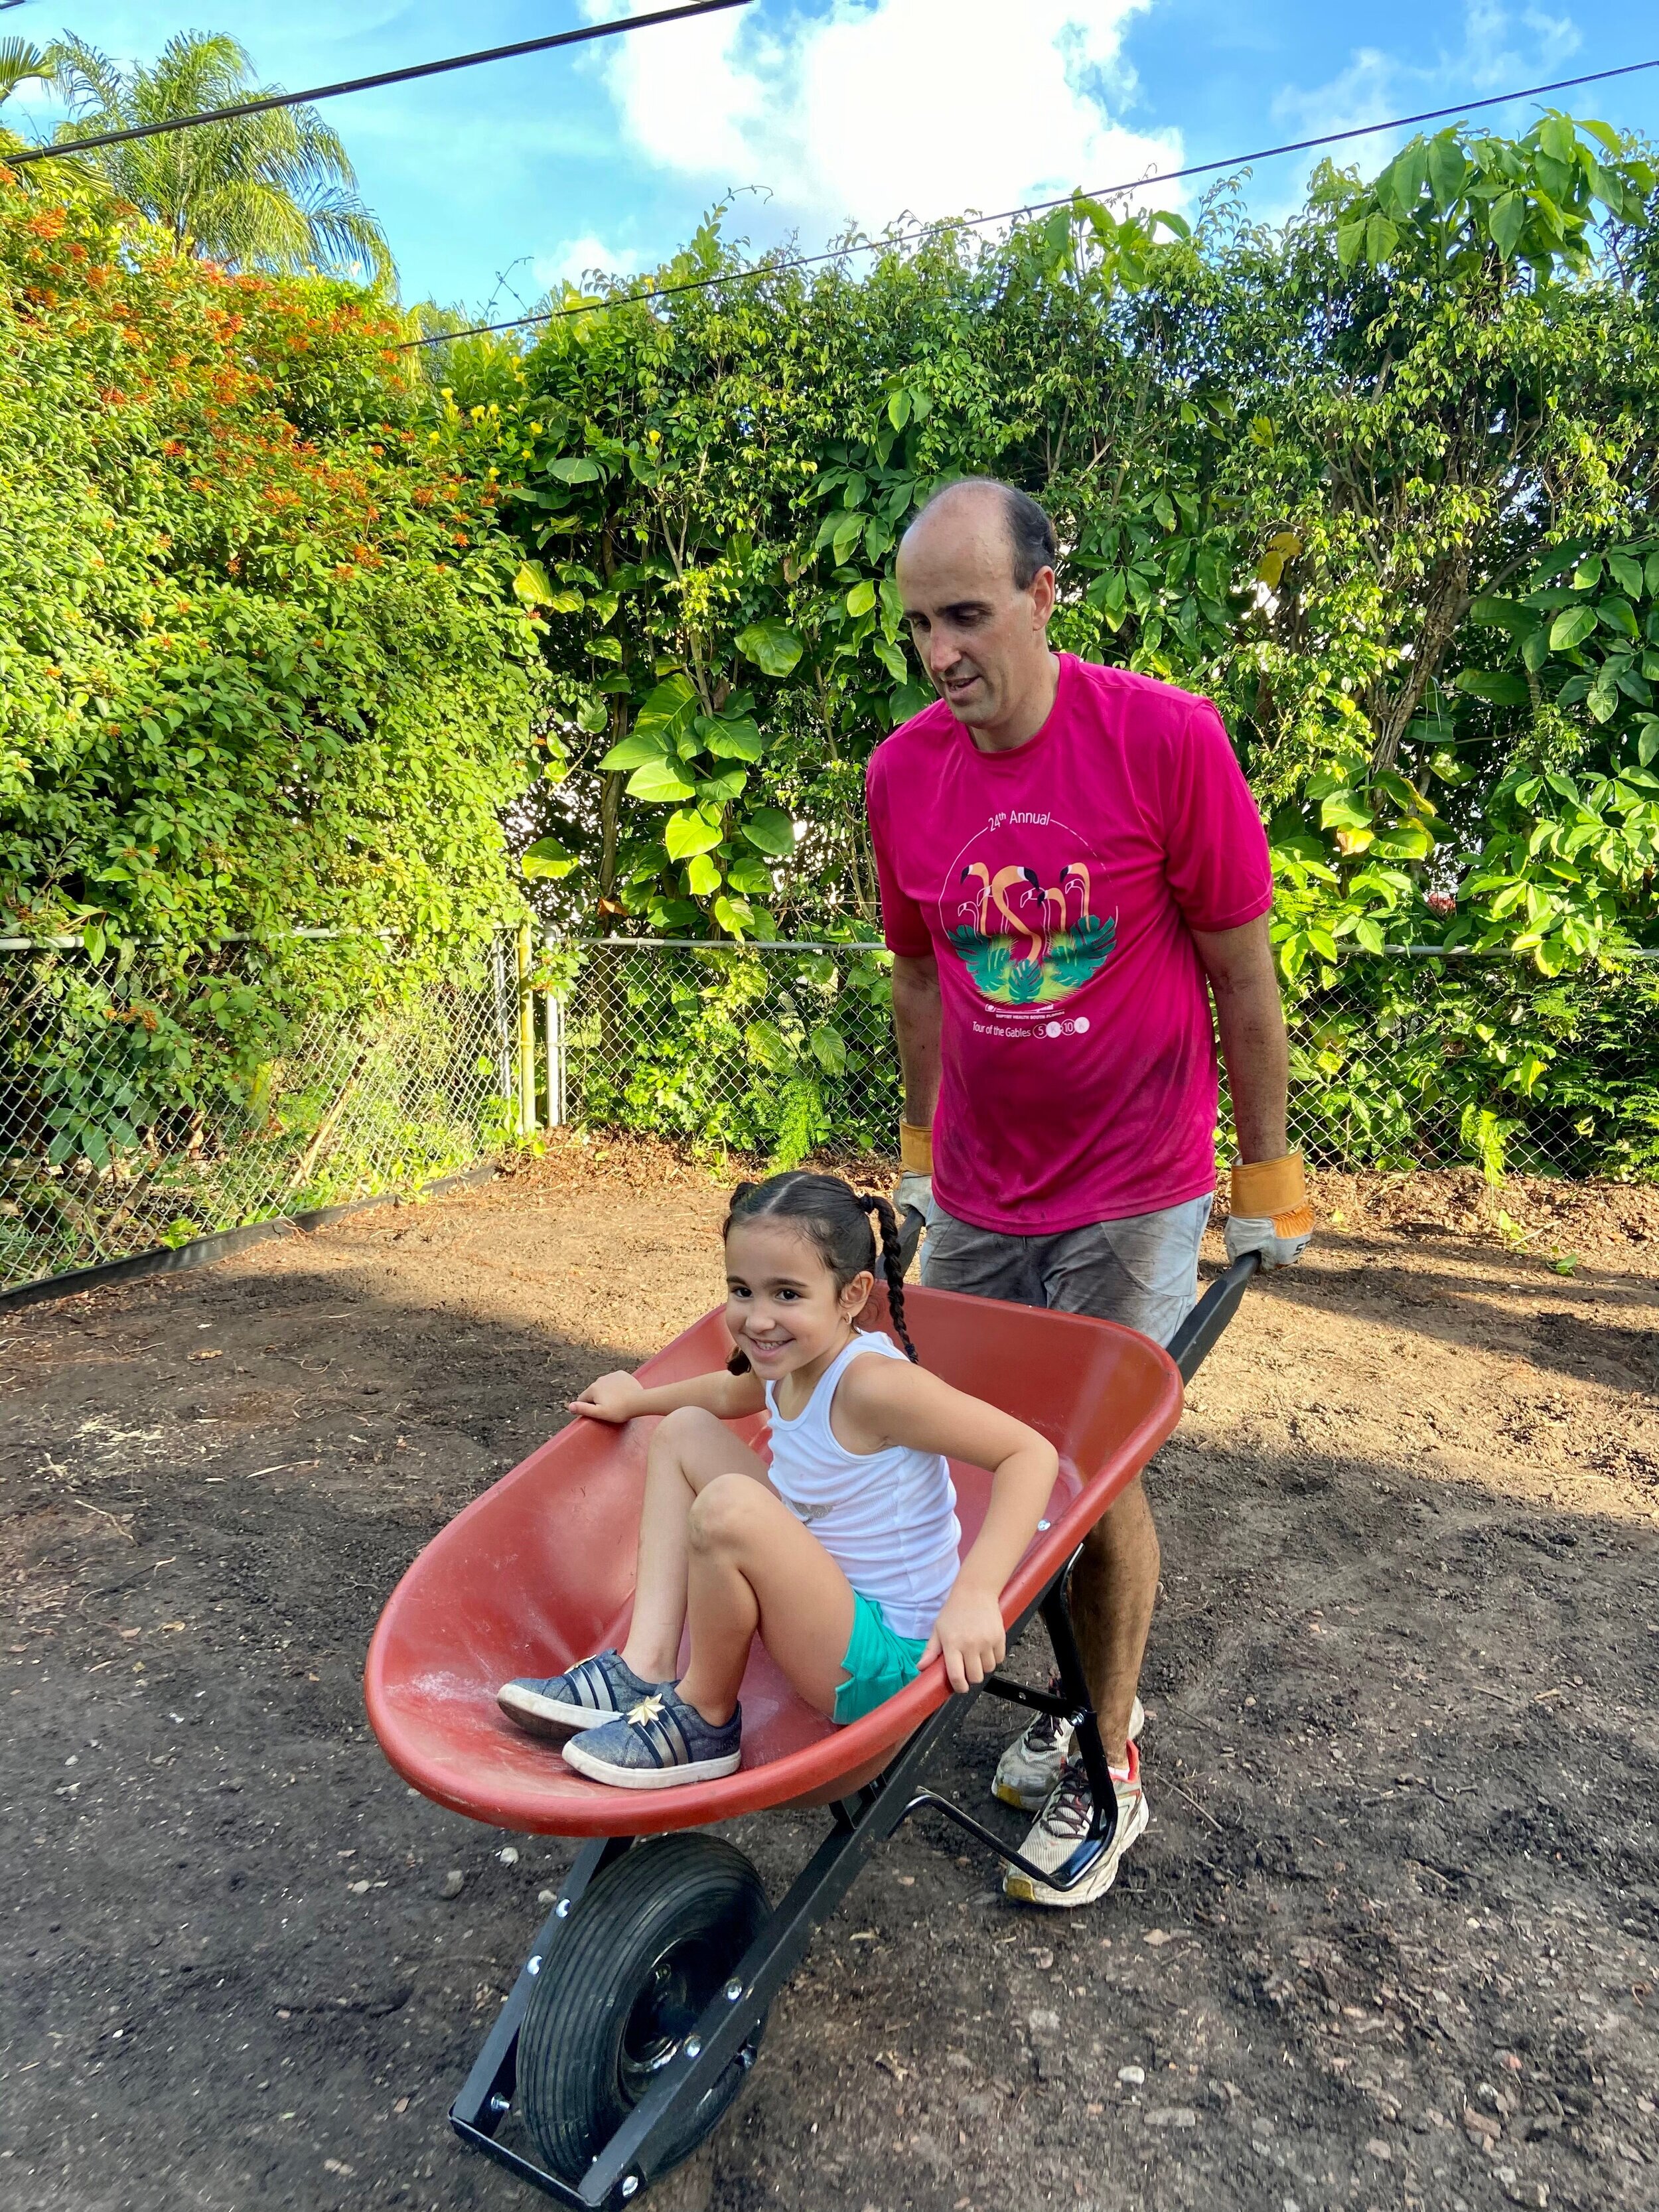
Our chosen spot had been home to our kids’ playground set with mulch below. It was already a hand-me-down set so we had no problem moving it off to the side and welcoming our new “toy.” In order to prepare the ground for the above-ground pool, we needed to clear out the spot of all the mulch and landscape mesh that was below it. We literally “broke” ground on the last day of “school.”
The kids loved the new dirt pile in their backyard as well as the barrel rides. Let’s say dad’s back took a bit of a beating. I then took over the job of removing as many as small rocks and debris that I could find. We wanted the land as smooth as possible to prevent any puncturing from below. Great way to work out some of the quarantine anxiety and restlessness!
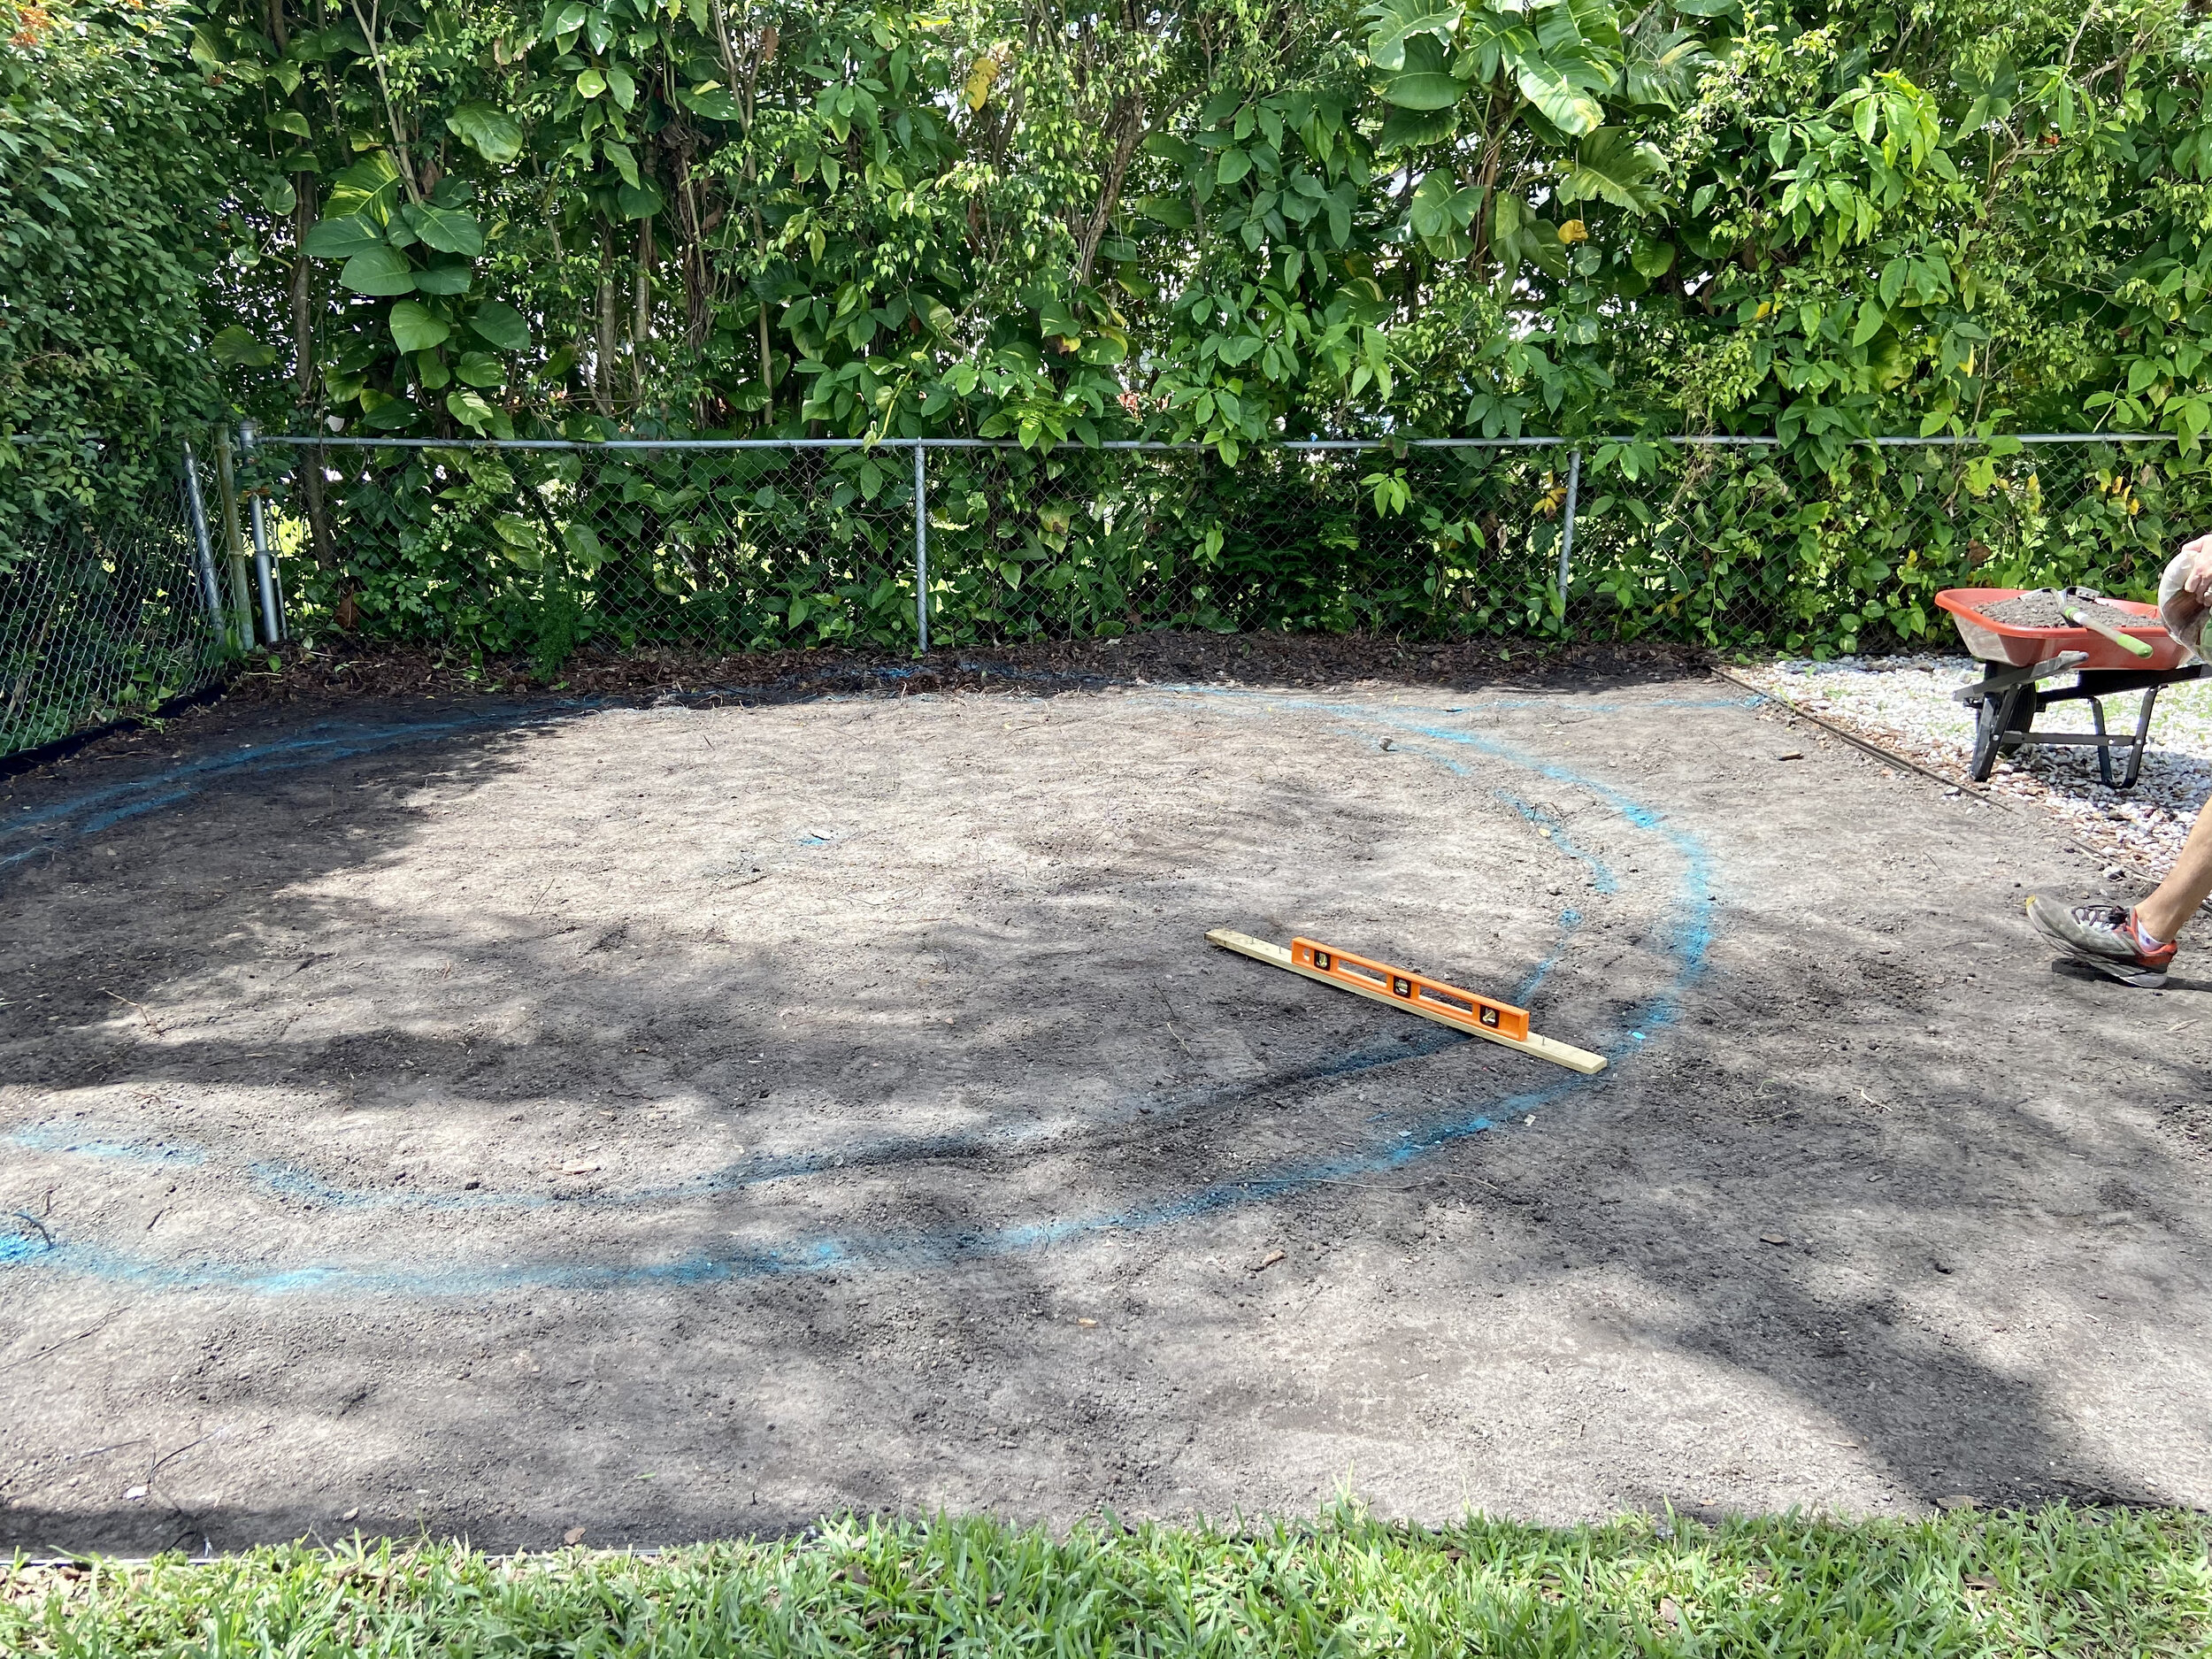
Leveling & protection barrier
Then we moved onto leveling the ground. This was a fun throwback to geometry days recreating a ball bearing compass out of 2x4’s and a level. I stood in the center of where we wanted to place our circle, while my husband (Fabio is his name, by the ways…no not that Fabio as you can tell by the hairstyle) used the beam to slide over and level the dirt as we went around the cirlce. We worked what felt to be a million circles into the dirt until it was finally level. We made the circle wider than the actual pool. After all that work, to this day, it’s definitely off by 2 inches or so, but not enough to affect its stability in any way even if you can tell the water level is 2” higher on one side than the other. But “DONE is better than perfect” had quickly become our new motto and we rolled with it.
We then laid down a tarp for extra protection of any sharp rocks or debris that could get moved around in the dirt once we started walking all over the inside of the pool. The pool comes with one included, but we wanted a bit more of a heavy duty one to double up on protection. It was an inexpensive, yet clutch move we made to ensure she’d last just a little longer. As soon as we got the foundation all set up… the rains set it. Darn! Anticipation was high but we waited a day and then got back to work.
the above-ground pool installation process
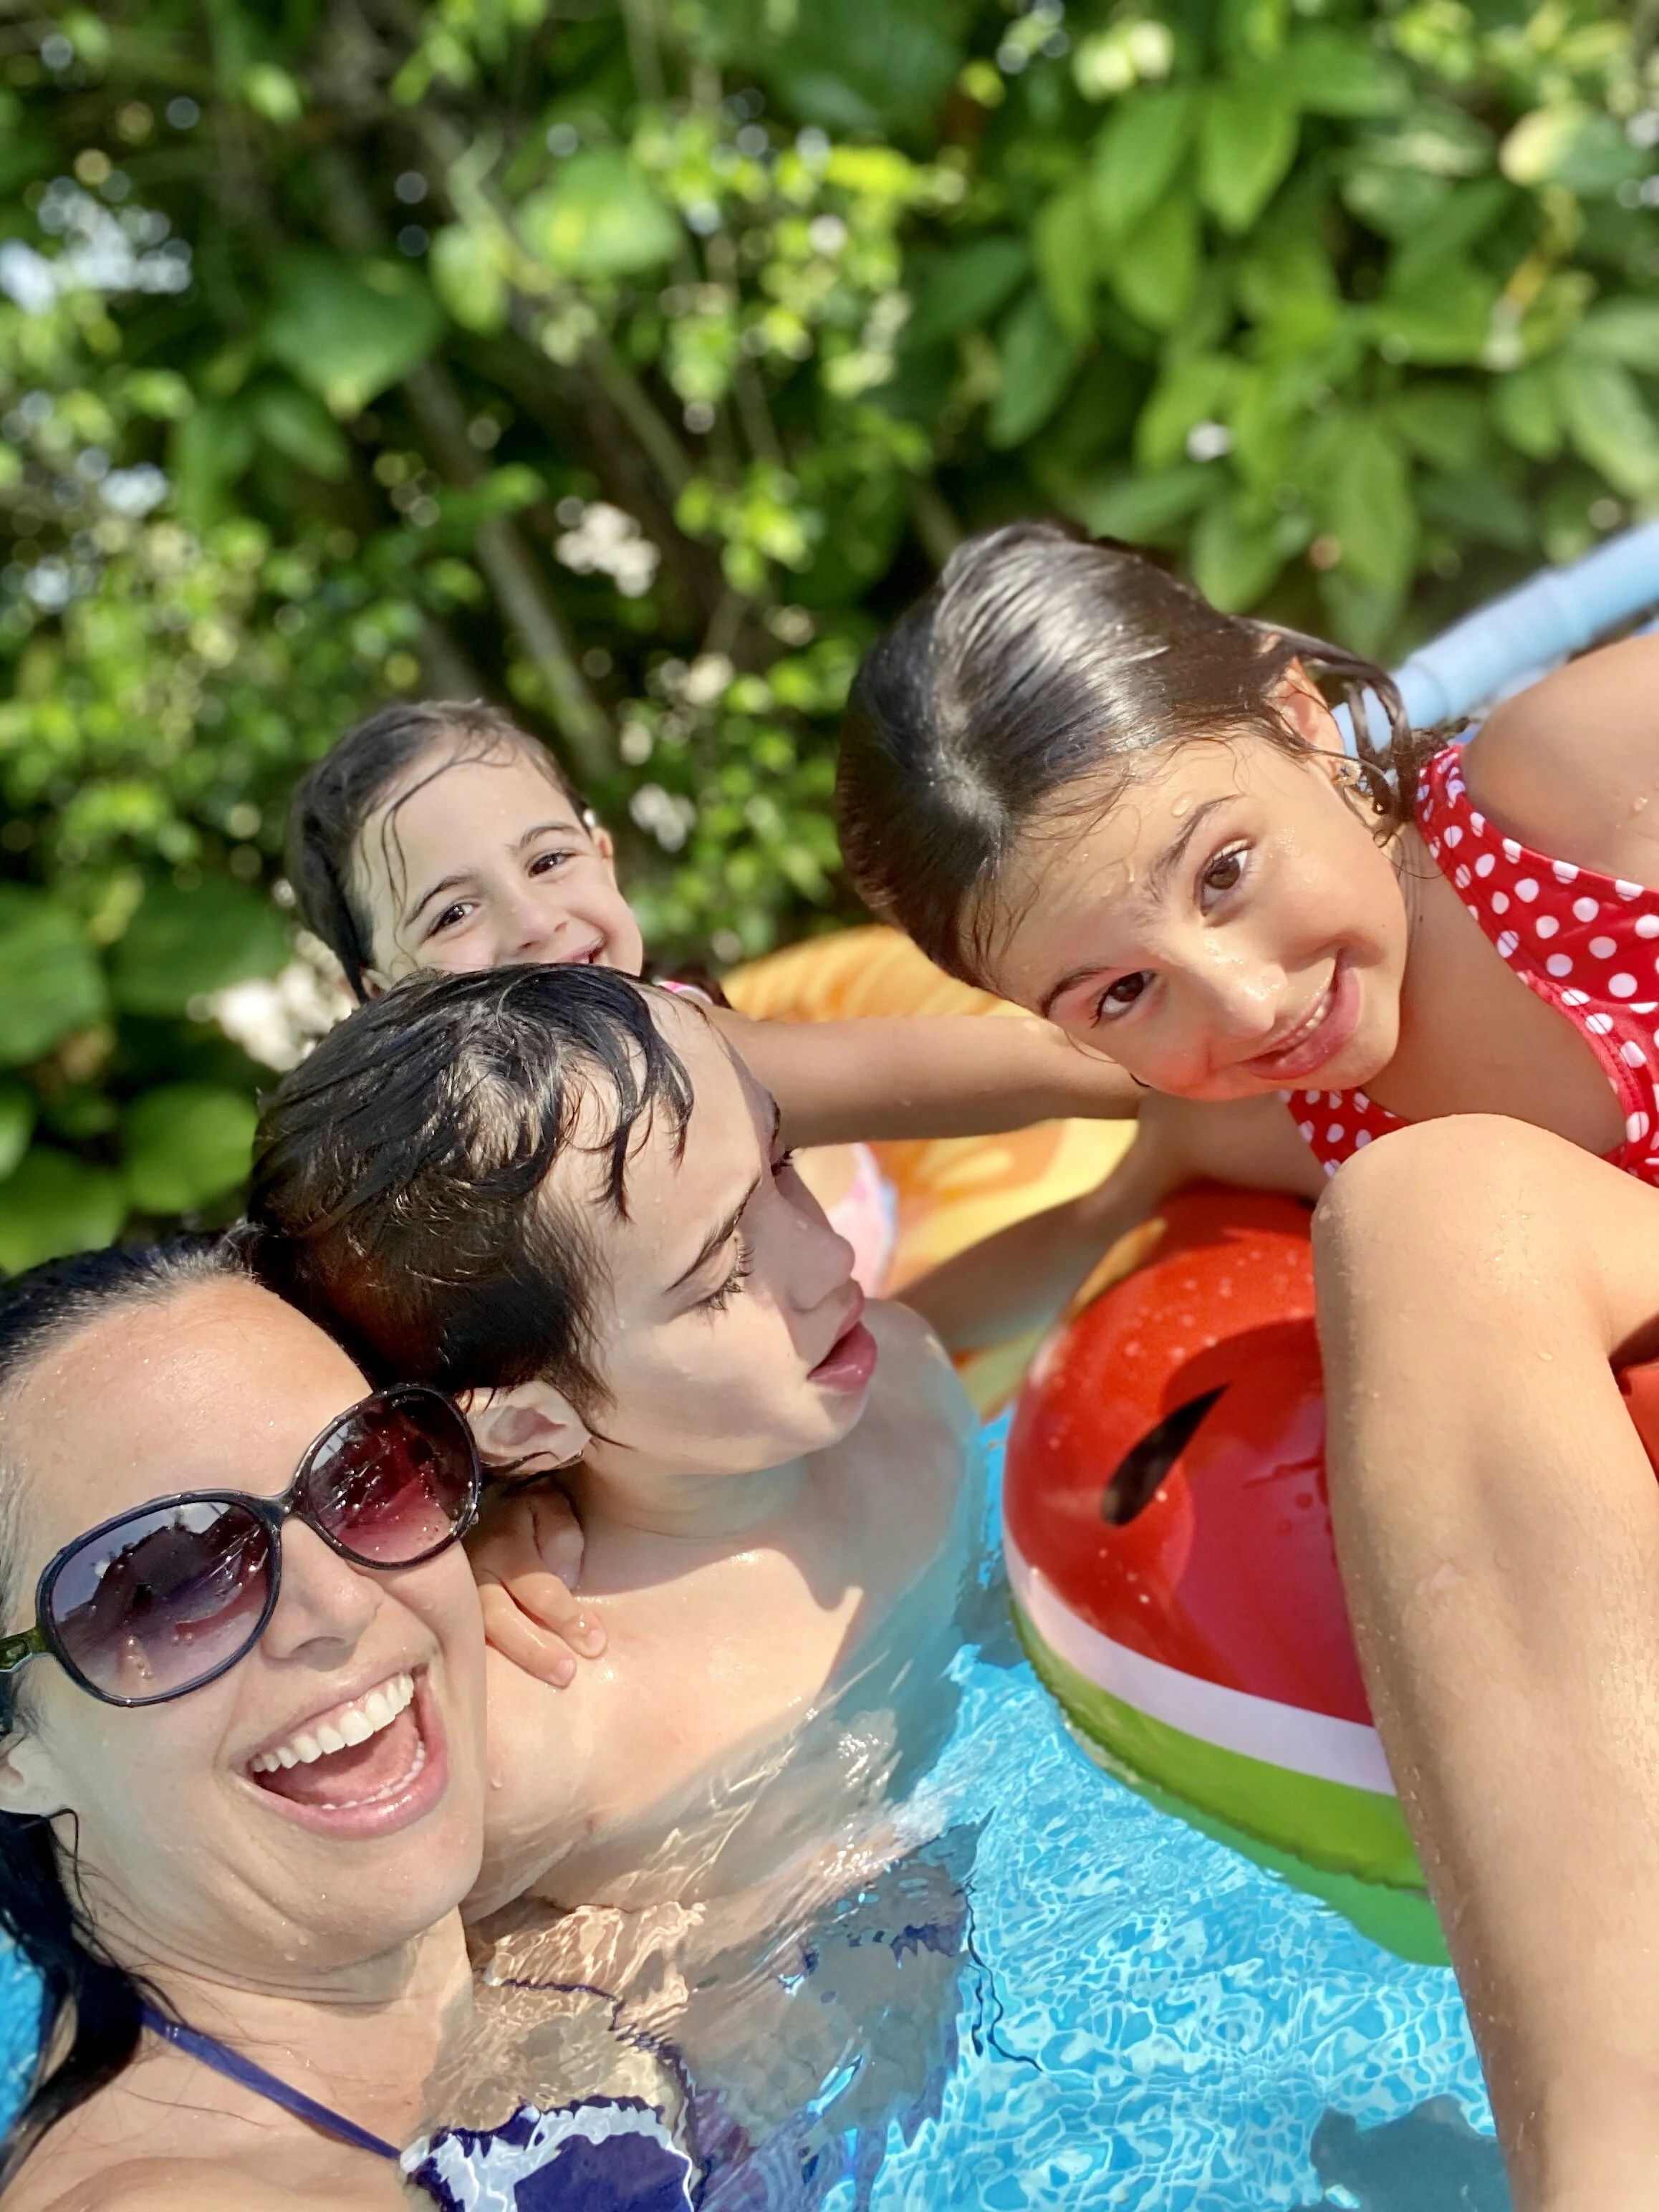
The installation process was pretty simple! We’re visual so we like to watch the company’s videos, but the instructions were very user friendly as well. We had that sucker up in no time, anxious to fill her up and jump in. We ran the water overnight, took a crash course in “chemically treating an above ground pool” and woke up to another rainy day. But nothing was going to deter us now. The kids were excited and their mother was even more so. Mad rush to blow up some inflatables…and set up my temporary solution to ensure that only clean feet enter the pool with the ladder included in the set. Solution? A bucket foot washing station. High levels of glam!
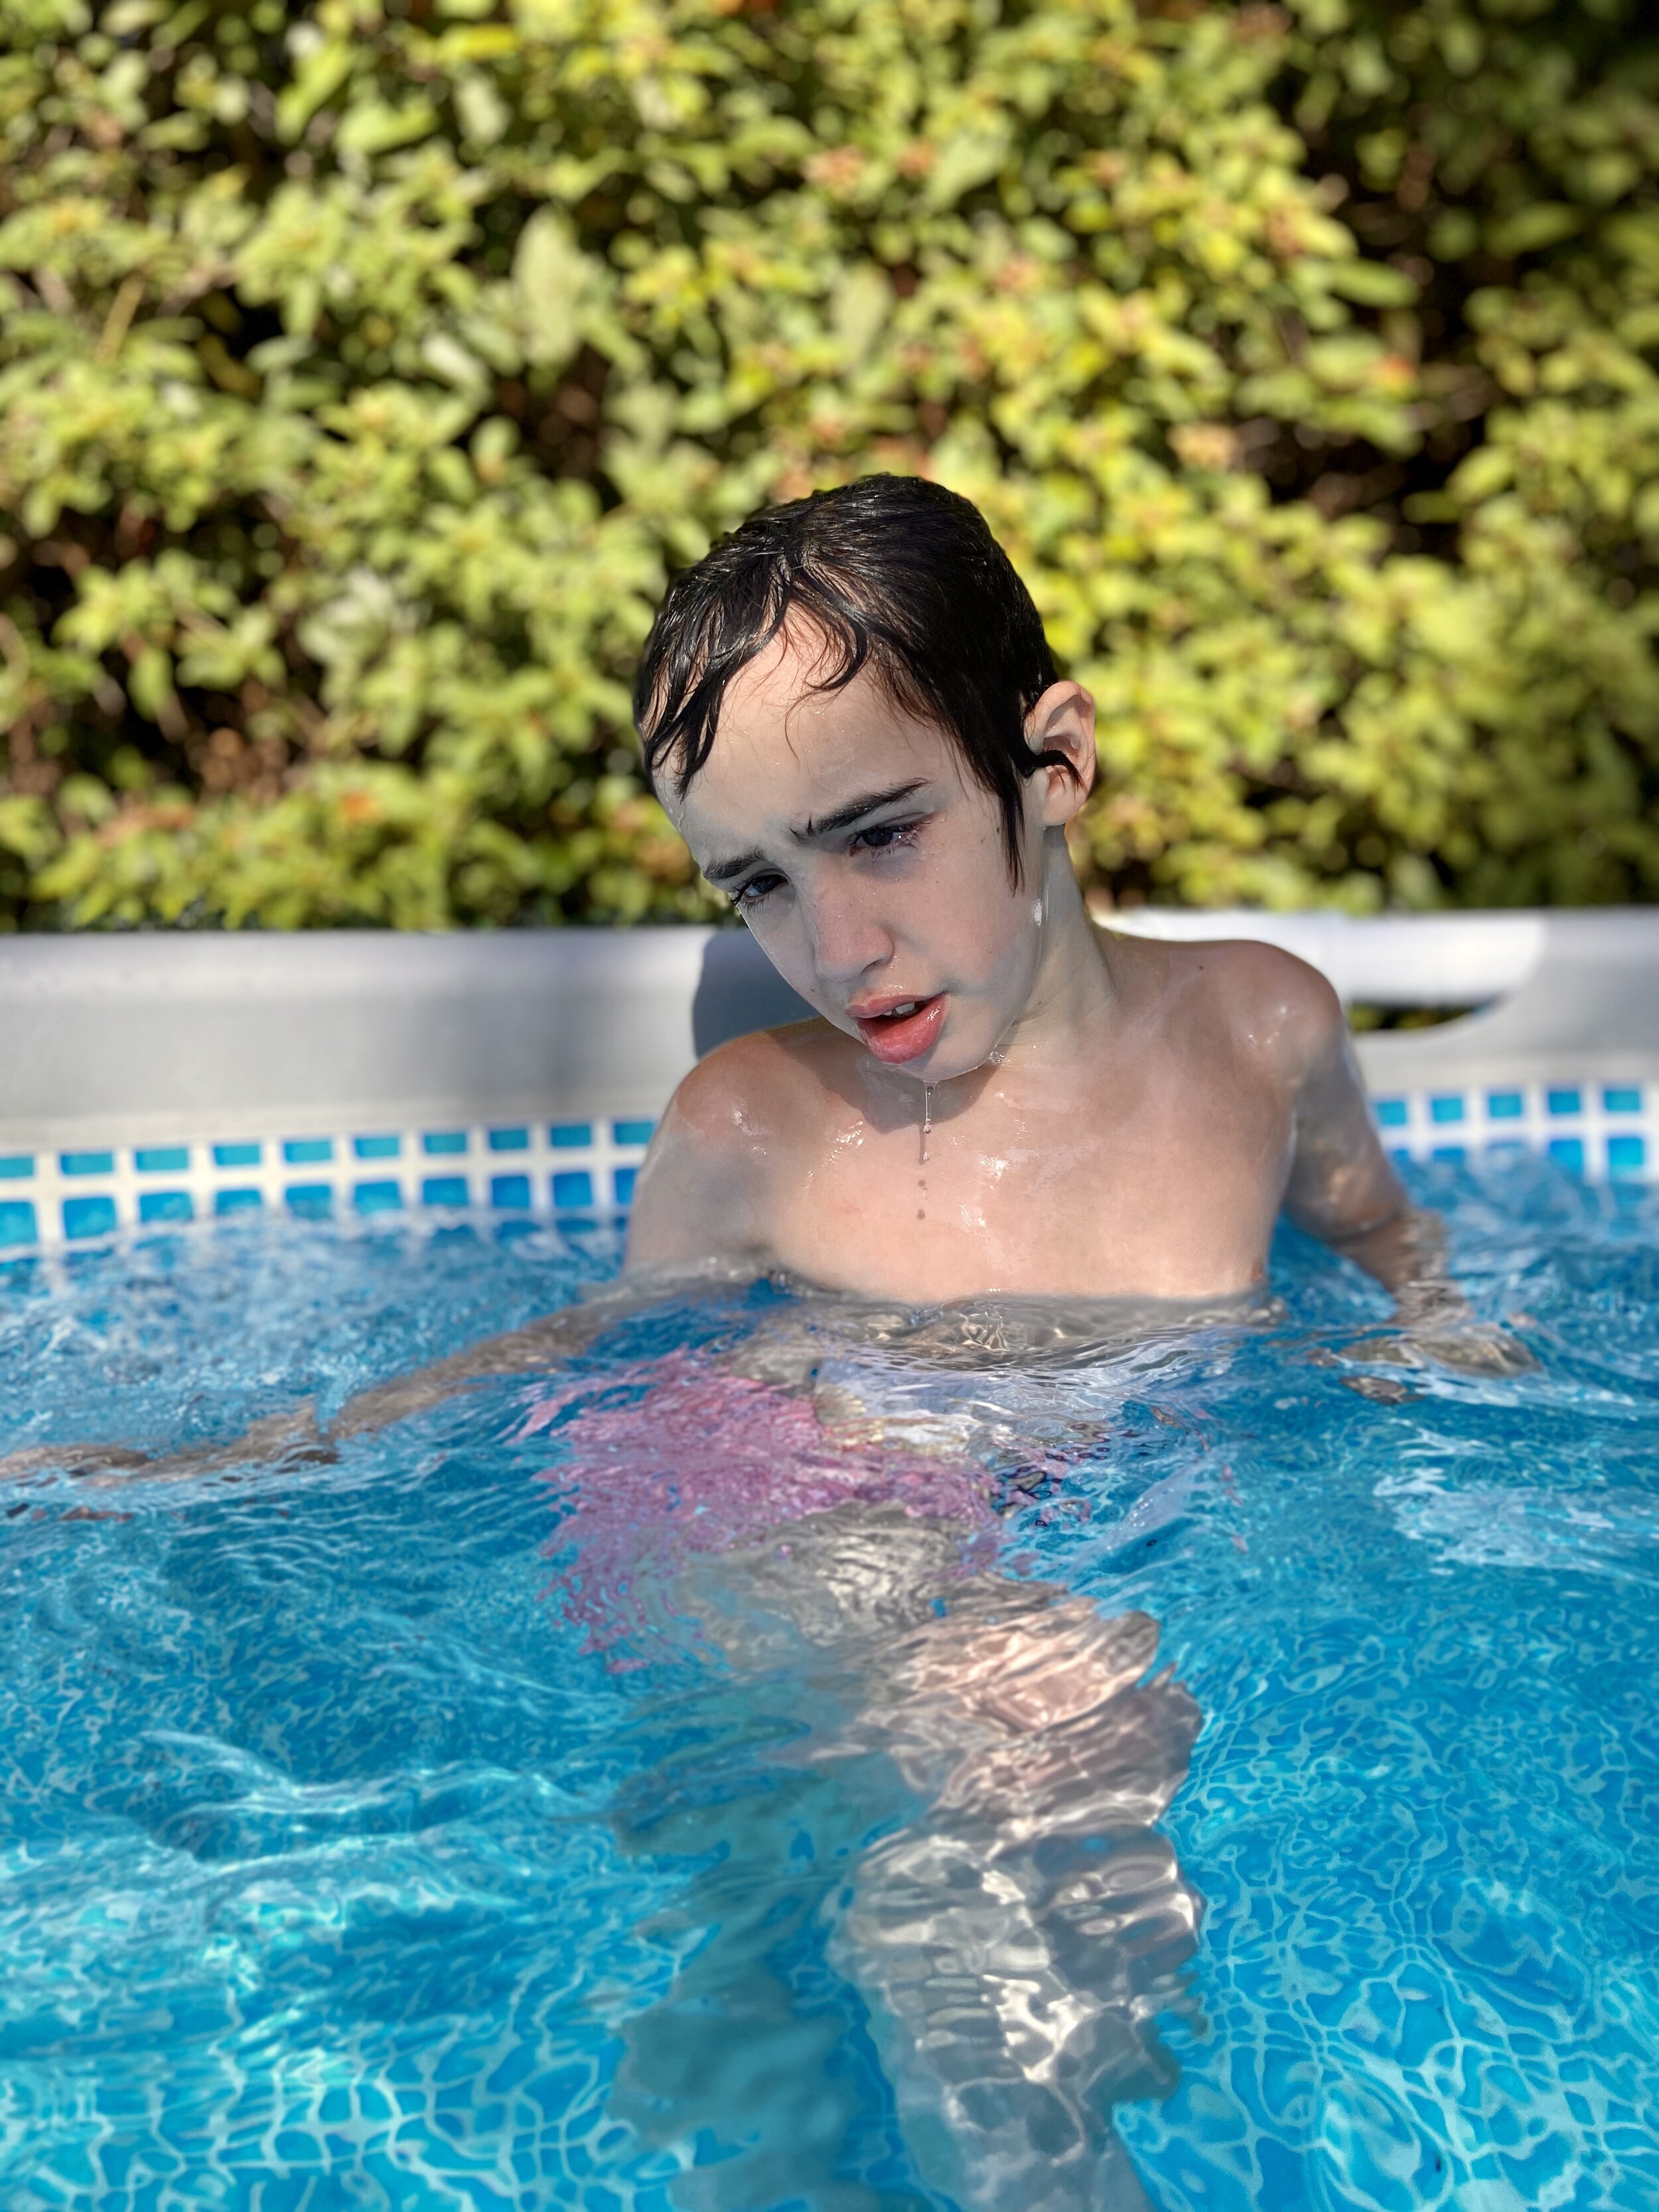
It was still sprinkling rain and the freshly filled water was super cold, but the inaugural swim was a blast. And honestly a bit emotional. Fabio and I still remember the day we chose the house knowing it didn’t have a pool and saying “well I guess there are a ton of pools in Miami” clearly NOT knowing we’d have 4 kids, including one whose main jam was swimming and who could really use one at home. And certainly not knowing we’d be quarantined for God knows how long with these yet-to-be-created four children. So here we were…we finally got our kids a damn pool! Just another little millionth reminder how life isn’t always how you imagined…but it all works out if you’re open to it, nimble and adjust accordingly.
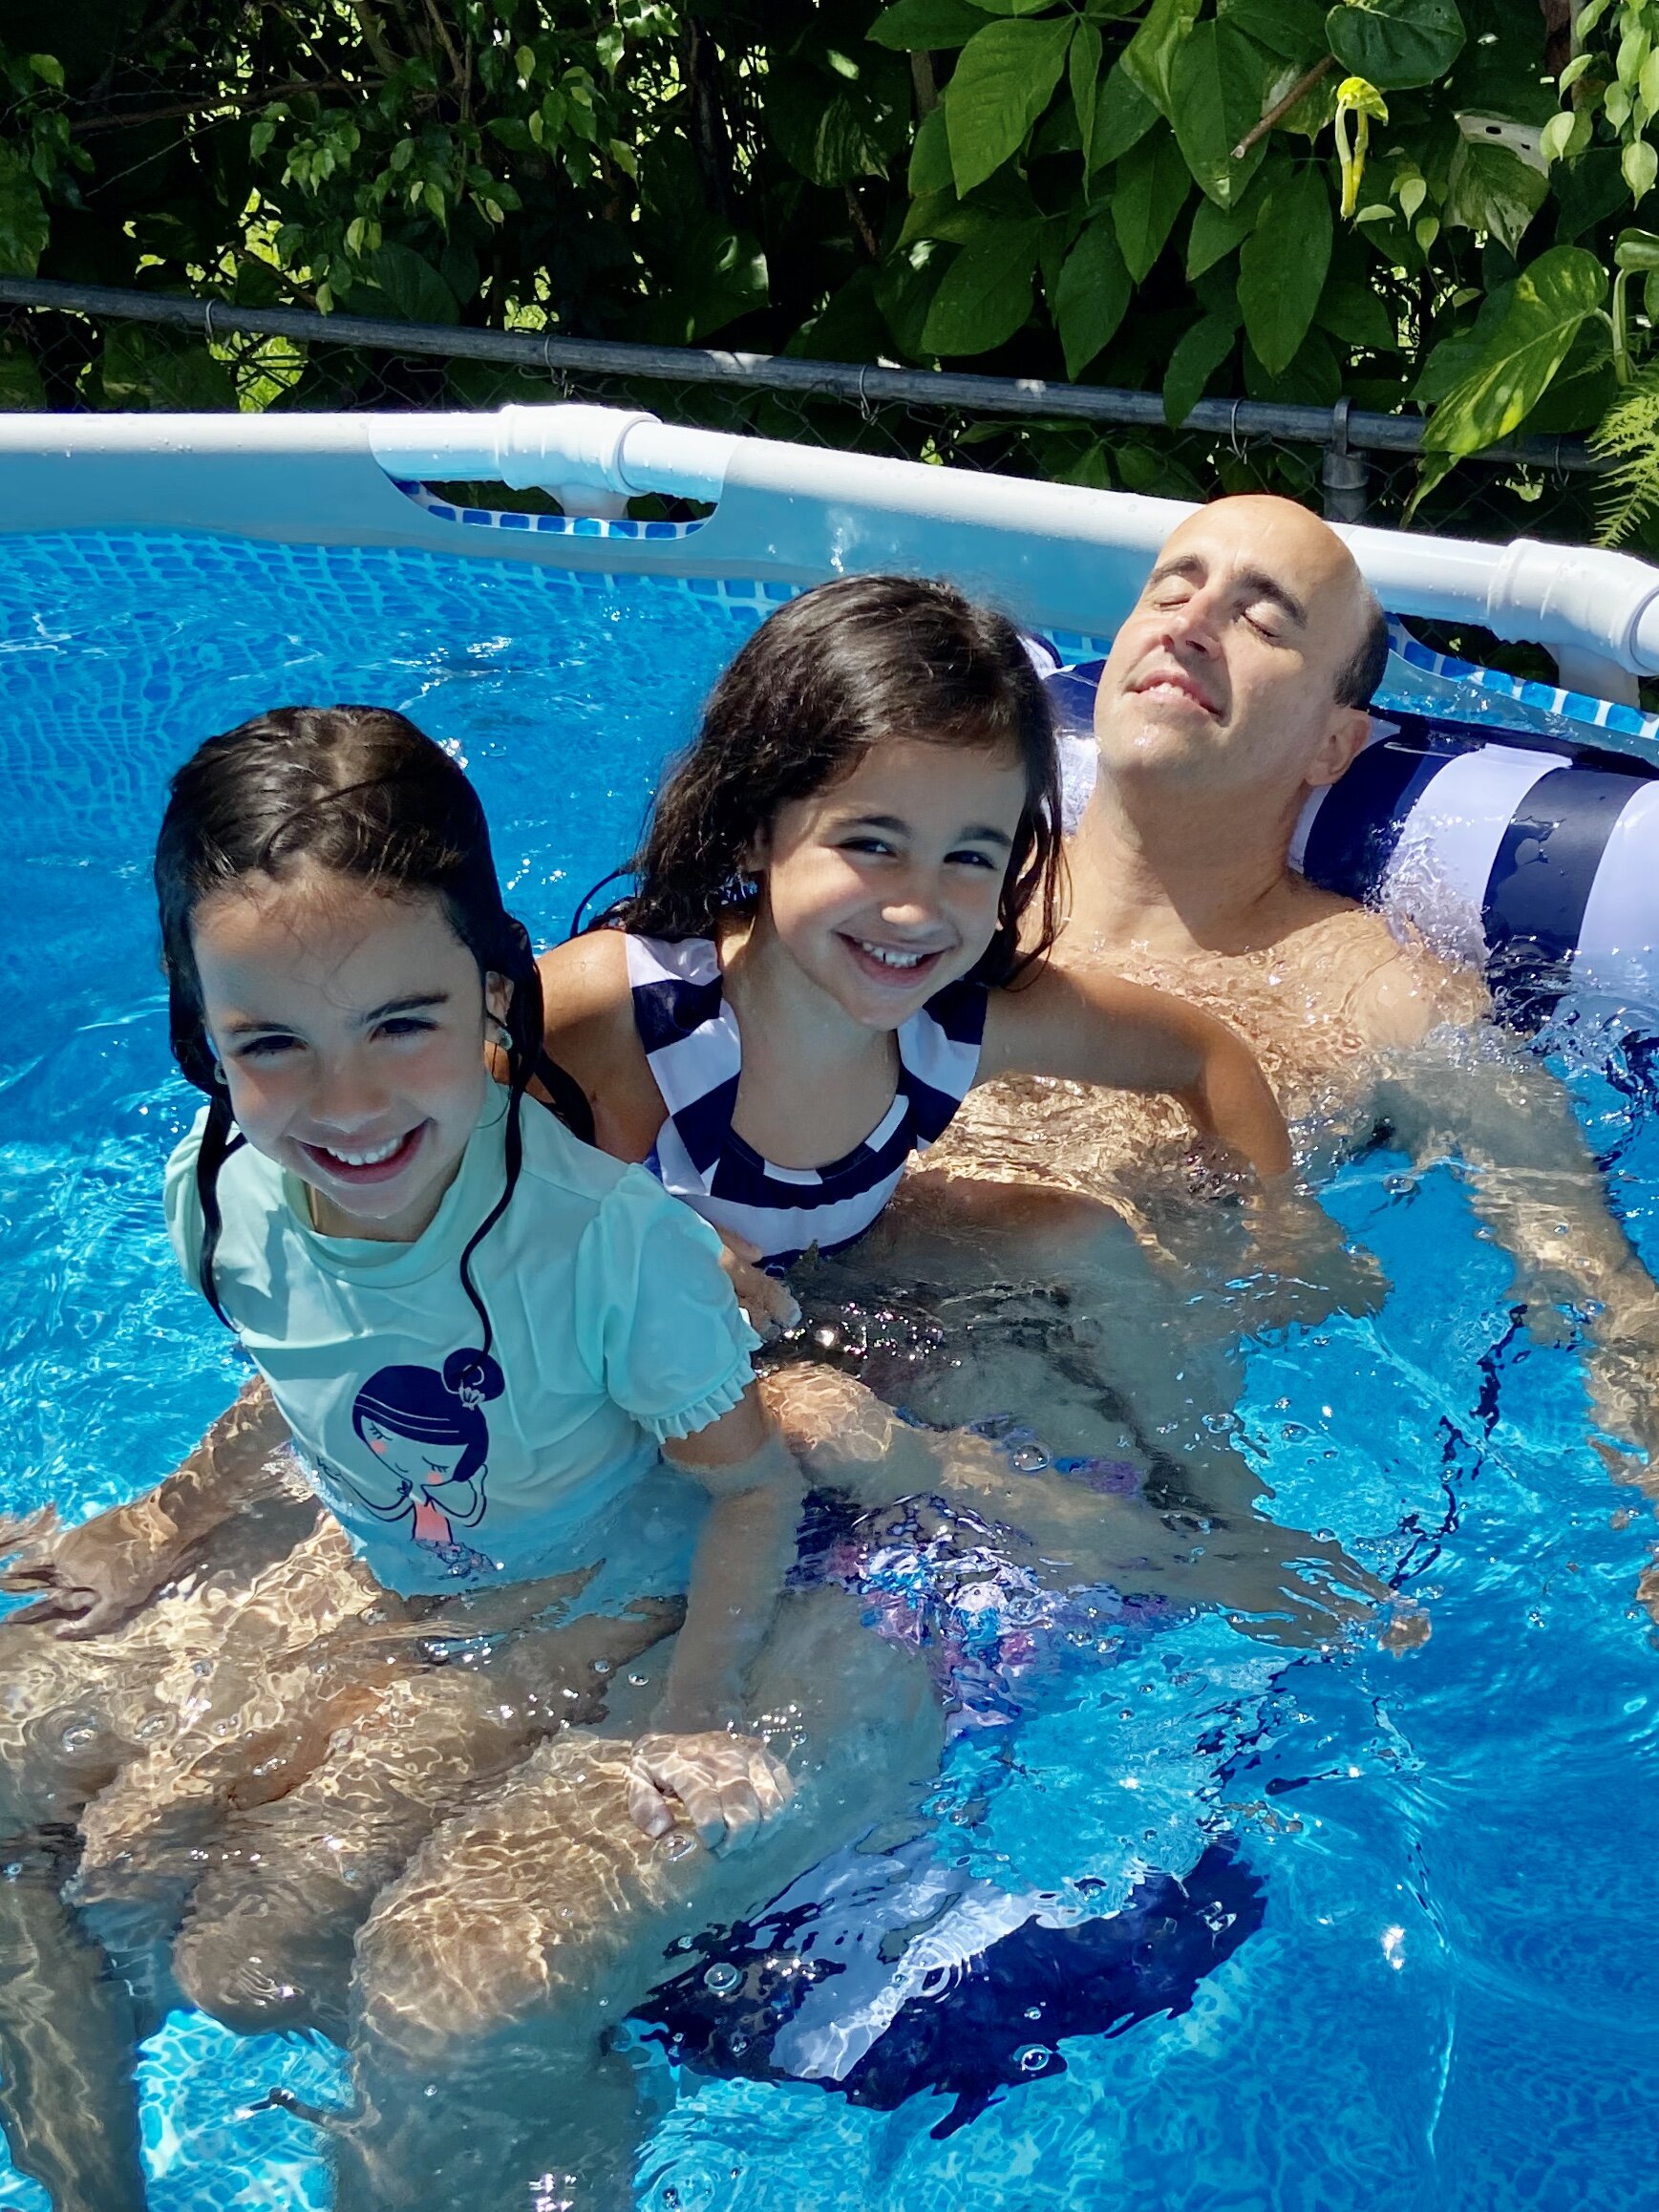
The next day met us with sunshine and a bit warmer water so it was finally time for Santiago to try it out. It was like he couldn’t believe what was happening. He’s nonverbal but his eyes and splashes said it all. “Thanks for getting me a pool in my own home!” More tears…remember the world was shut down around us and everything was hyper sensitive as it was. The kids began taking at least two or three swims per day and our first goal was complete. Kids. Water. Done!


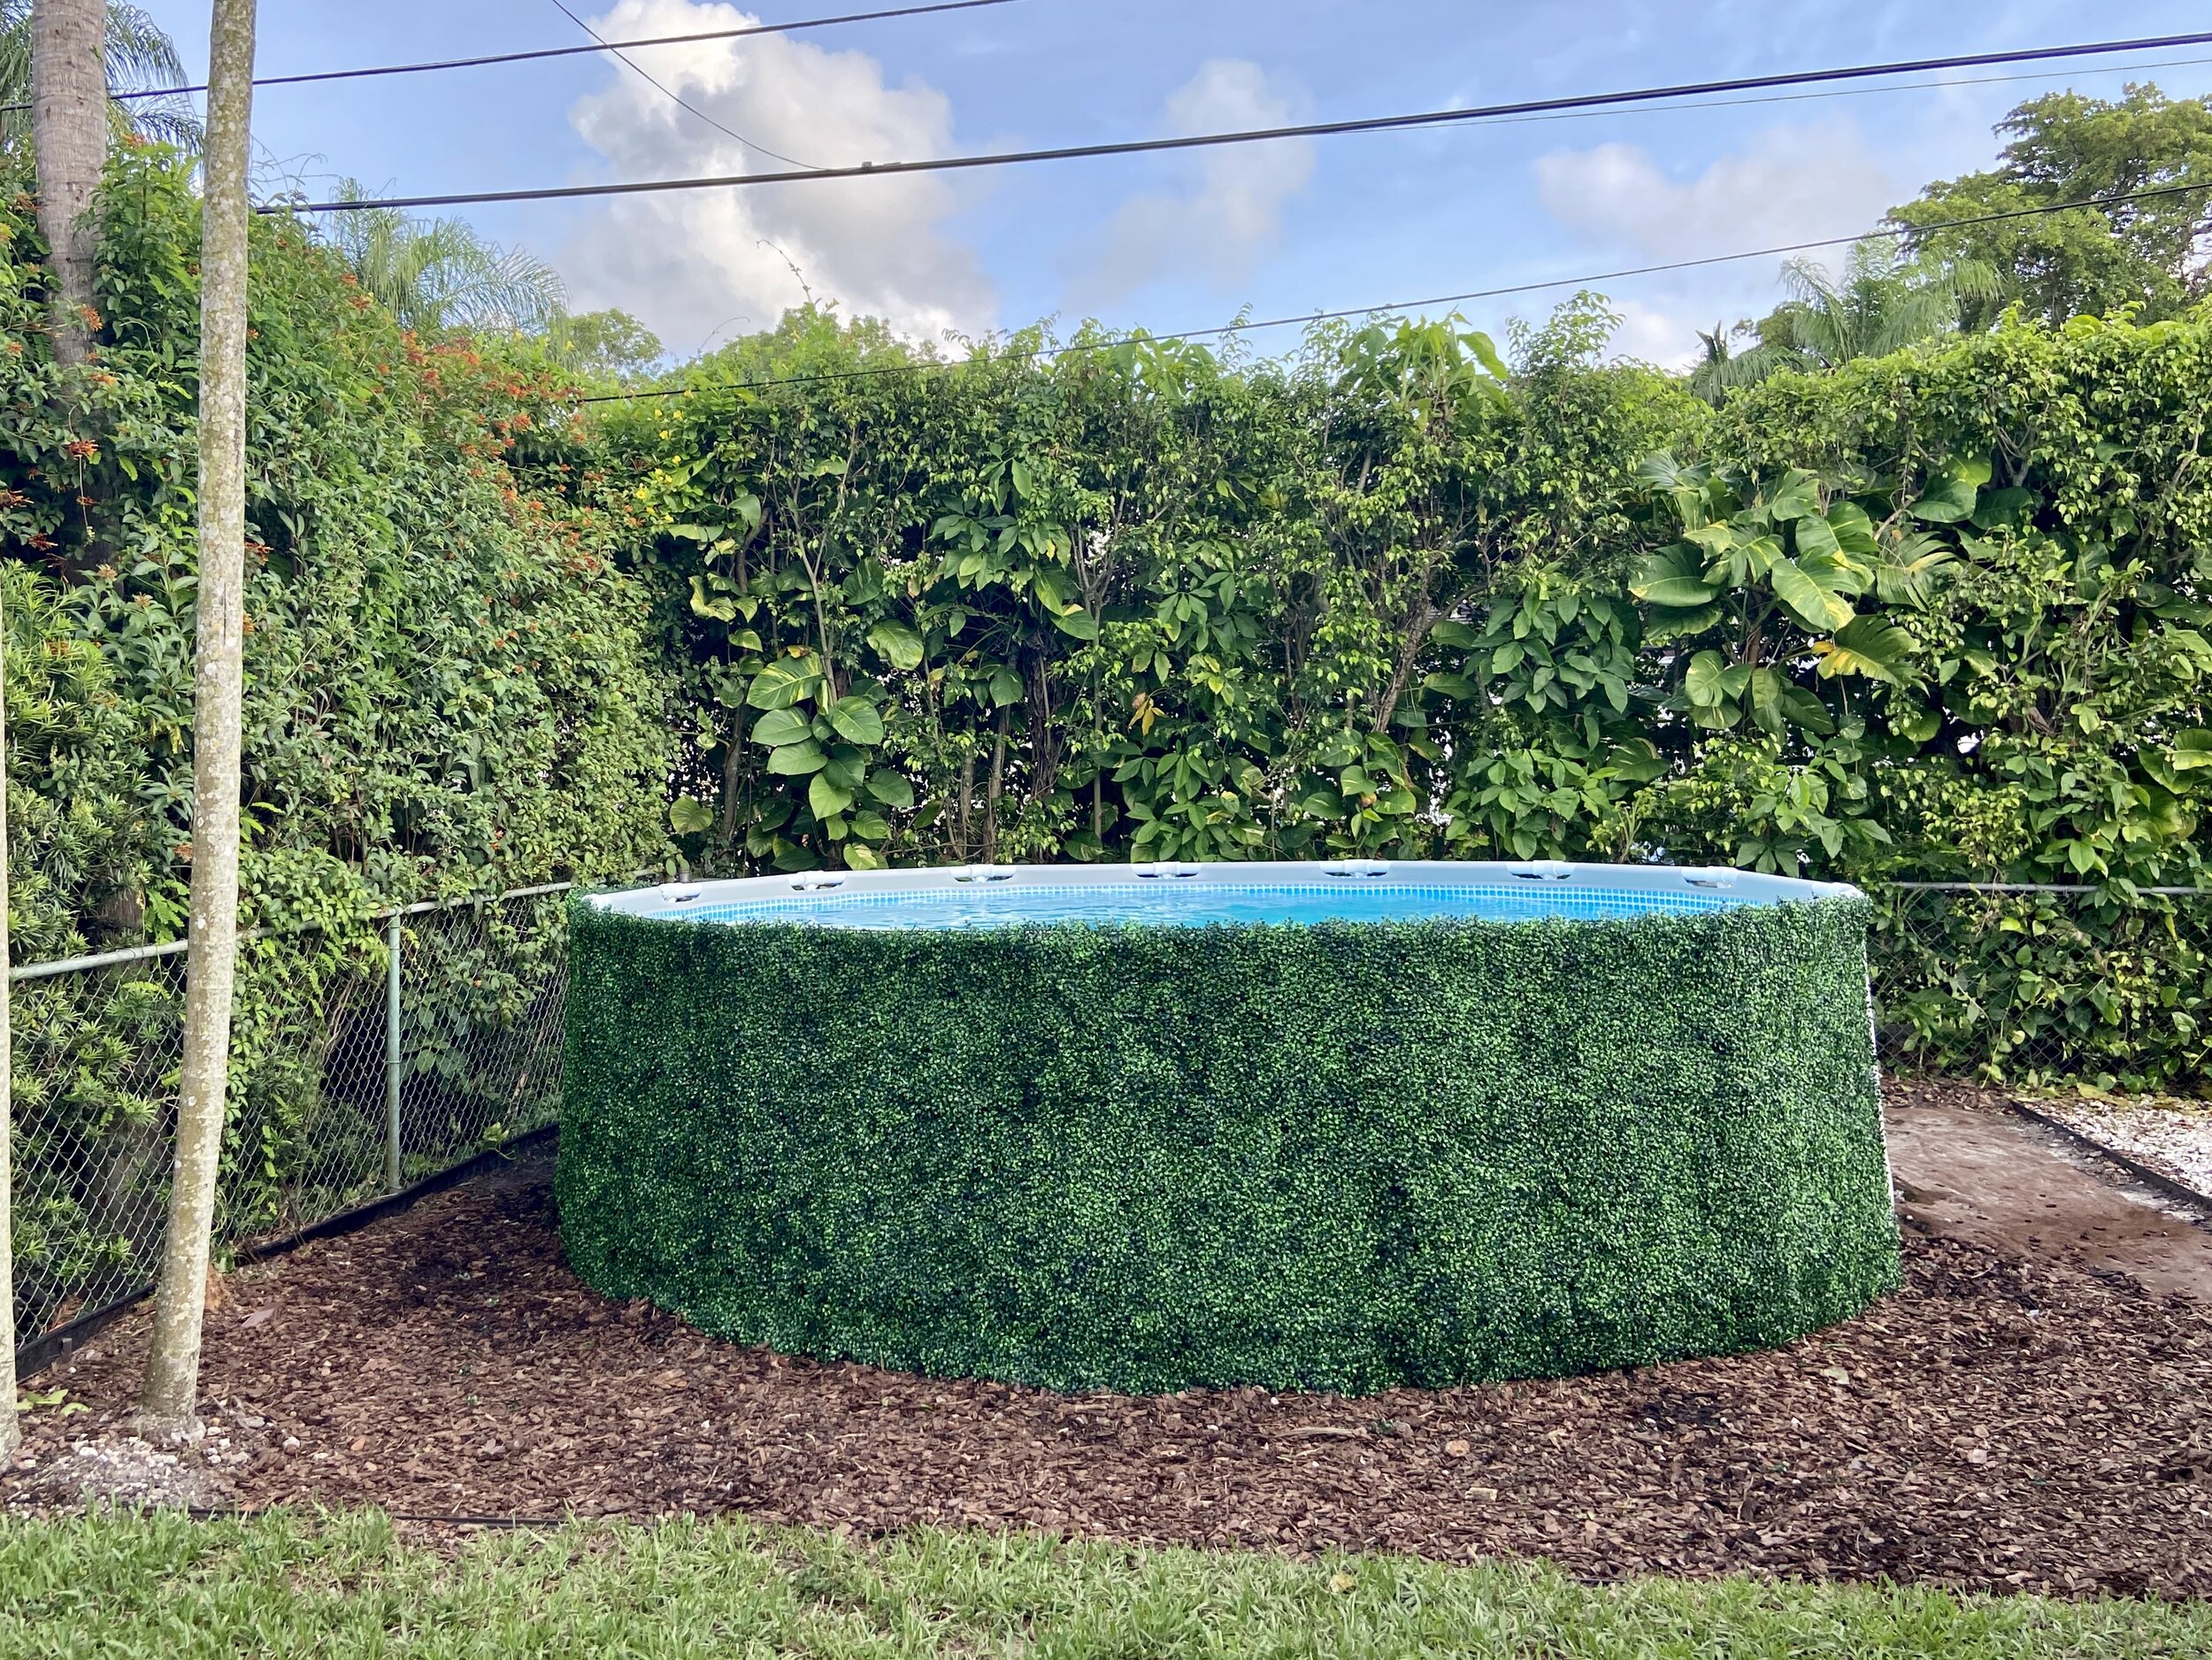
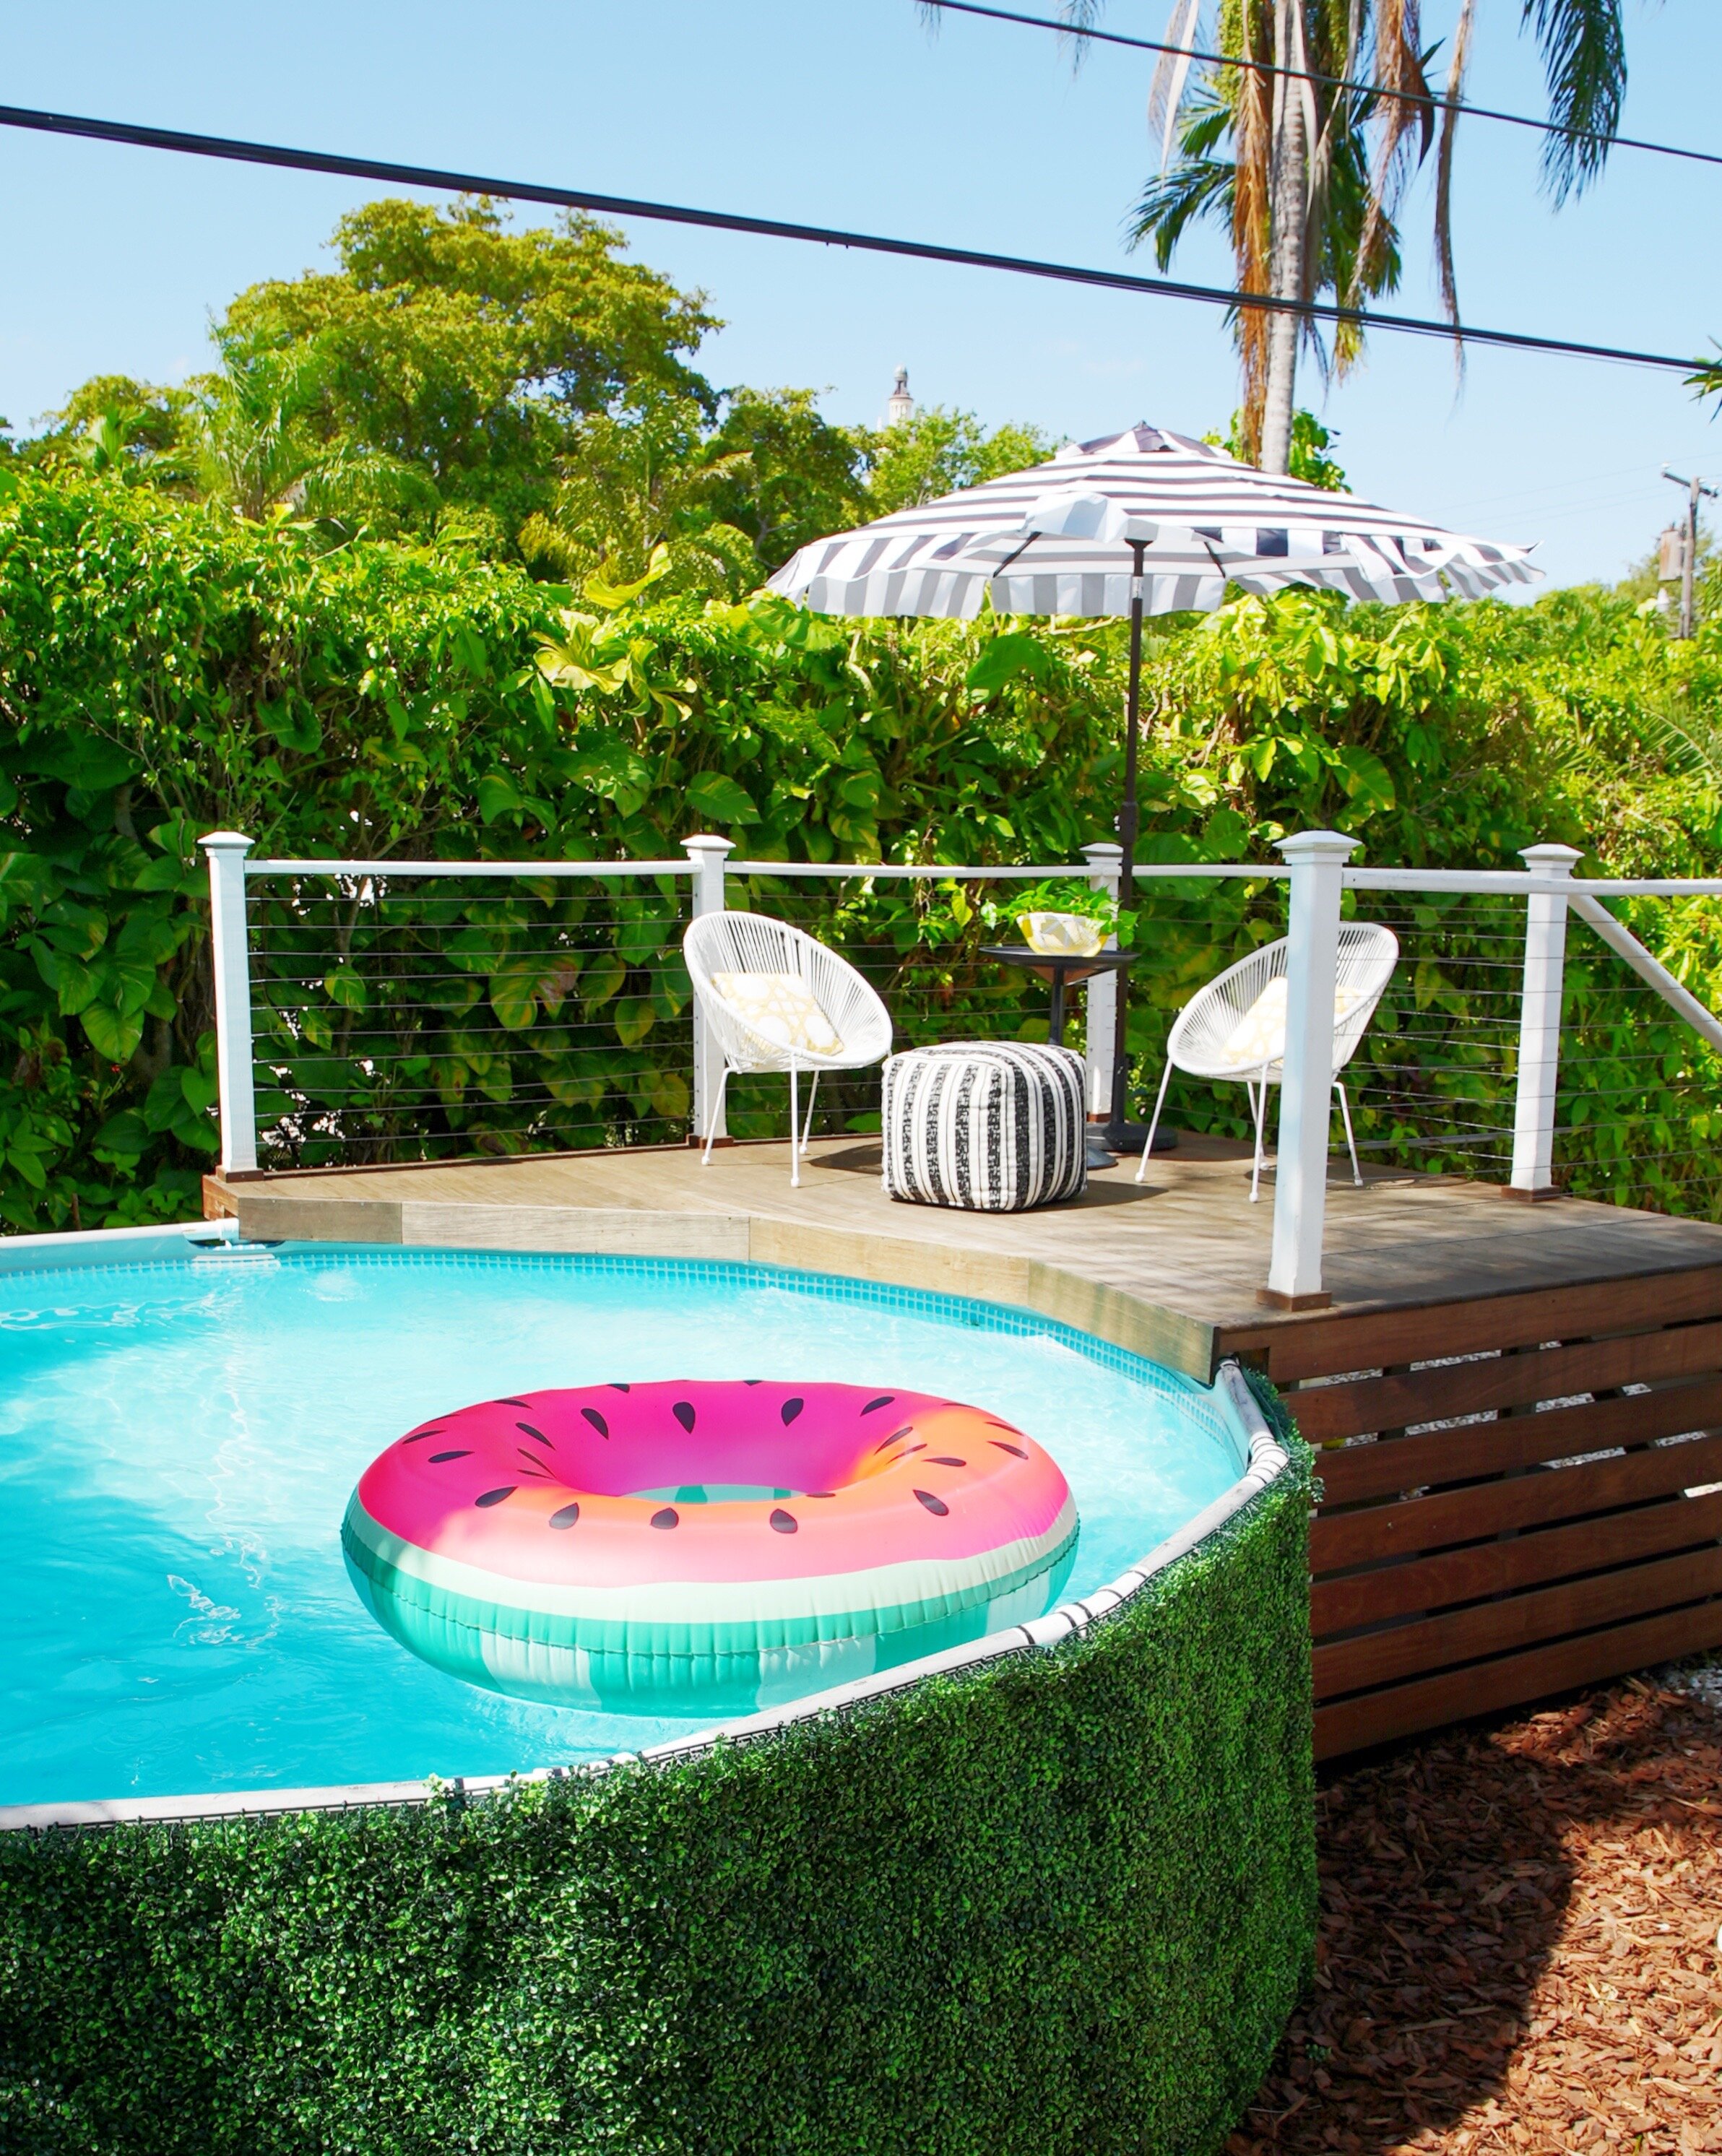
camouflage design - faux greenery for the win
But now the challenge was on to find ways to pretty her up. I got going on my design tricks. Faux boxwood hedging panel for the win! This is how I would disguise this chunk of plastic and make her blend into her surroundings as much as possible. We had real high hedges in that corner of the property anyway from our neighbors so it was a match made in Camouflage Heaven.
I ordered a few samples and landed on this one on Amazon. I loved the multi green tones and how the panels snapped together. My fingers definitely took a bit of a beating, but it was worth it! It was the most realistic-looking product in an affordable price range, plus it was flexible enough to follow the curve of the pool. And I could also cut them down to size to fit the height of our pool. Since the Intex Prism pool, has strong PVC style tubes all around the top, we were able to hang the panels with these heavy duty zip ties. I considered also zip tying them to the vertical posts, but we didn’t need to. The vertical hang was enough and allowed for the most natural look possible. You’ll also notice that I didn’t take the hedging all the way around the areas it wouldn’t be seen. Saving everywhere possible!

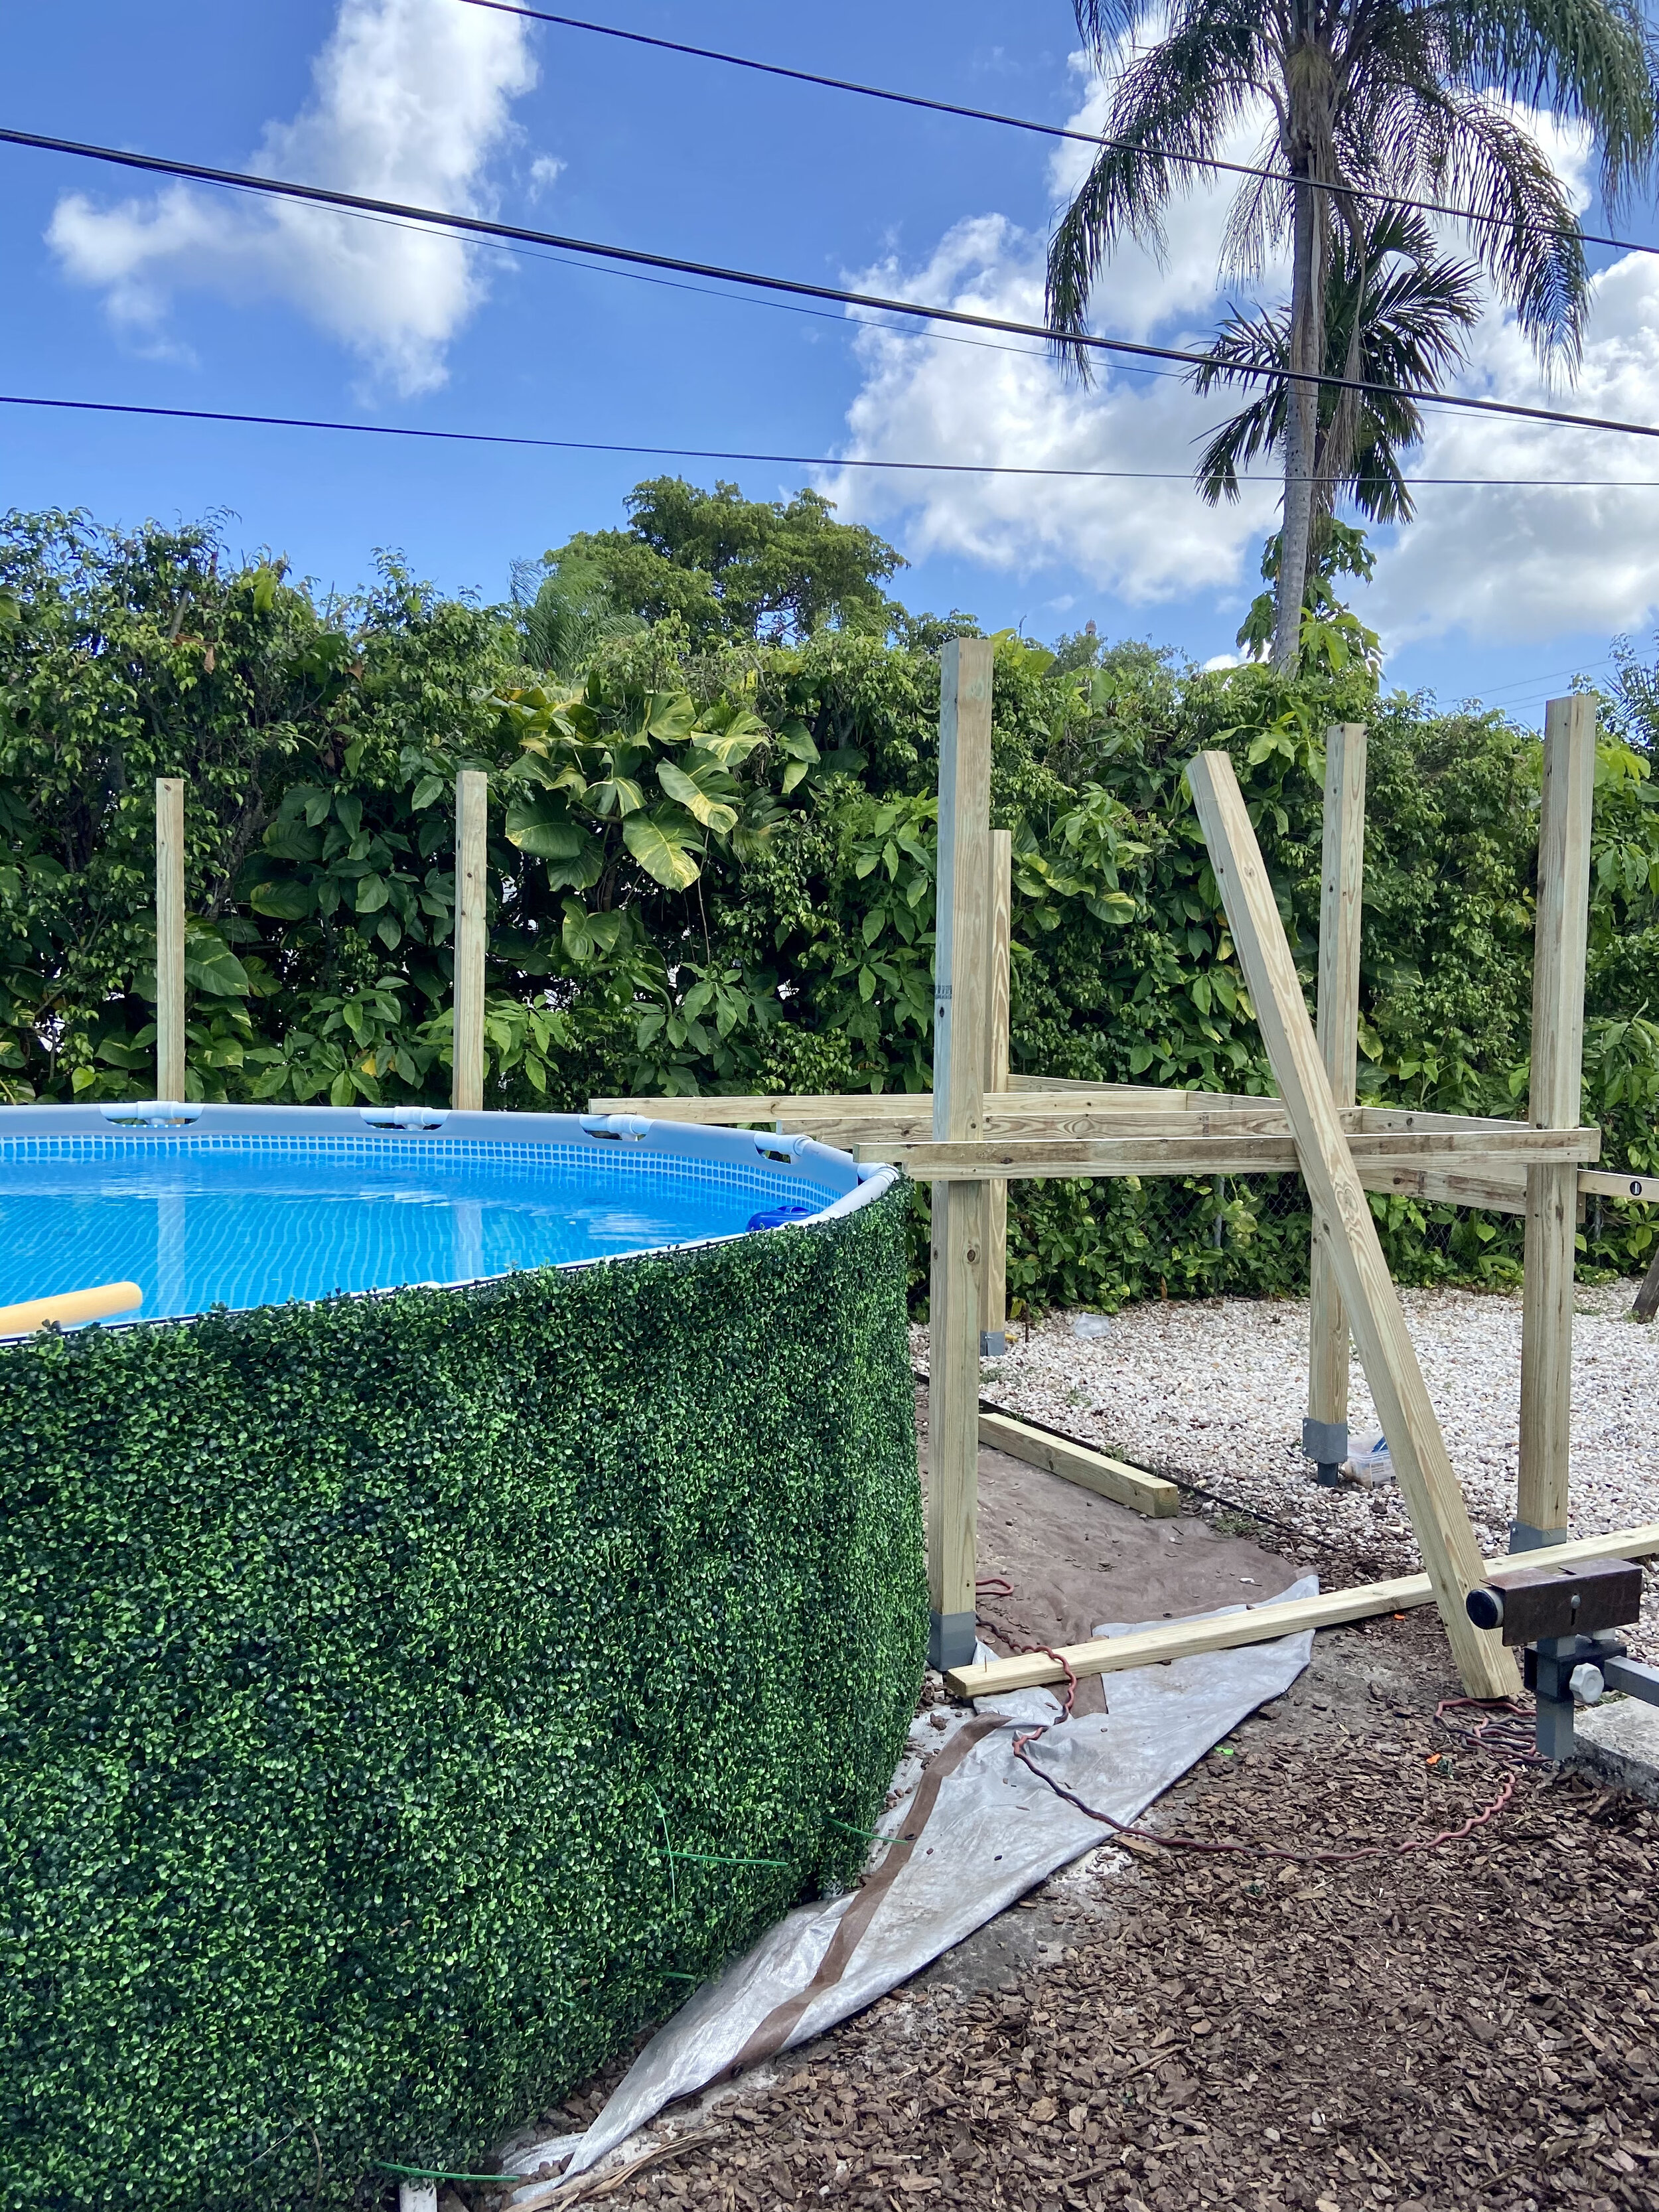
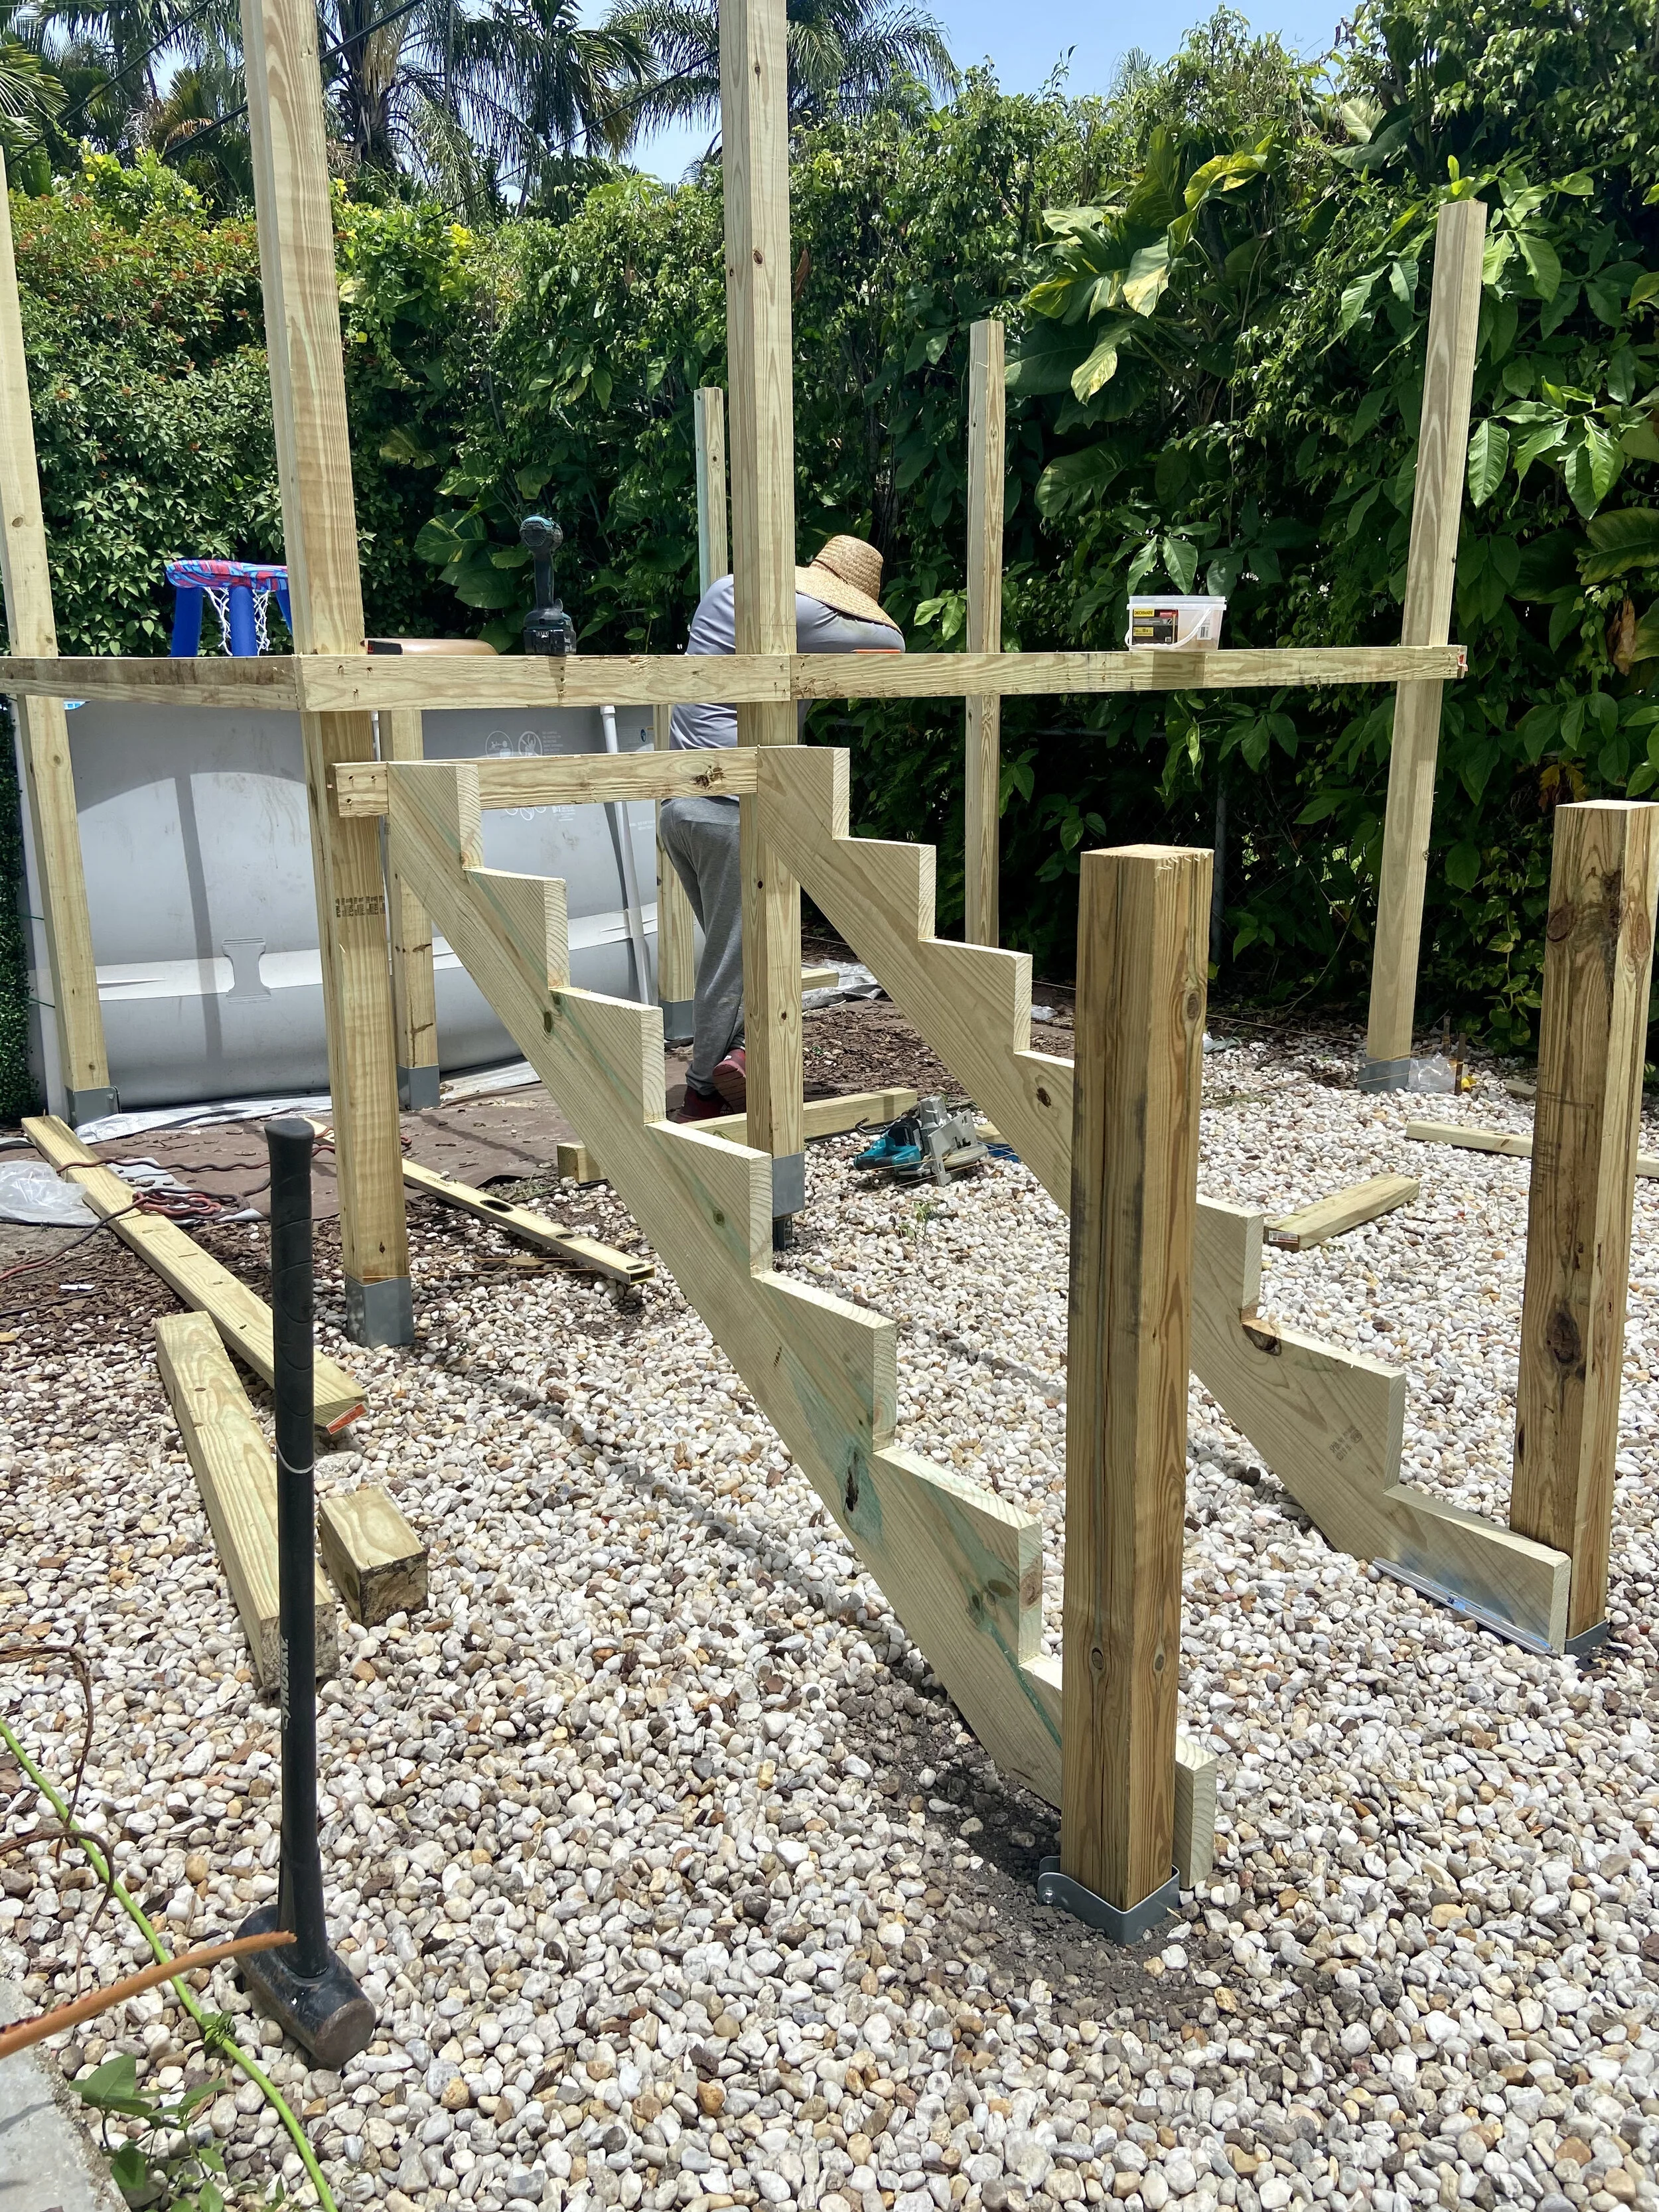
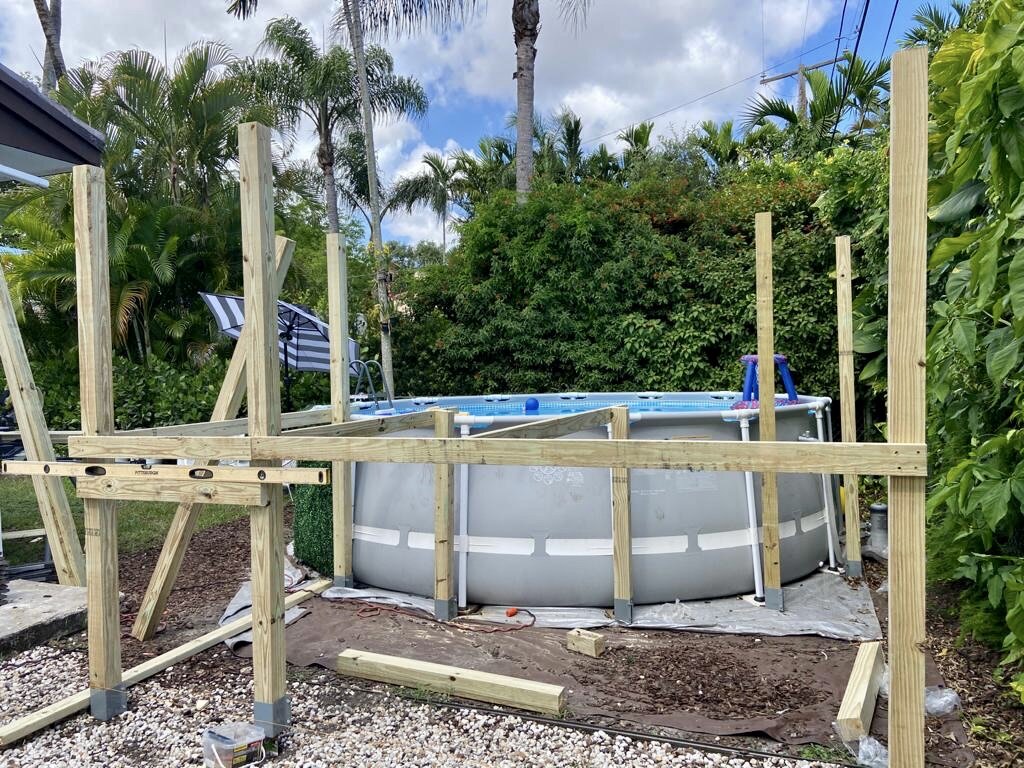
let’s build an above-ground pool semi-deck
We also needed a solution for getting in and out…jumping…and most importantly for our crew…SAFETY! We always need to be able to get Santiago out of the water at a moment’s notice because of his Epilepsy. Pulling him over the edge of the pool onto the ground was not going to cut it. And trust us…we know because it only took a couple of those to move quickly onto Phase TWO.
So I designed a pool deck that would give us just enough space to hang out up there as a family and let the kids jump in all together without fighting for the tiny steps that came included. I knew I needed an umbrella, a couple of chairs and a side table up there. That’s it. Plain and simple. I spoke with my carpenter who sent over a crew to scope out my plans. We had no time to do that part DIY since we a) were full force on child caring 24/7 and b) had no time for the learning curve of structure and support needed for such a build, despite having some initial woodworking knowledge. And don’t they say that really smart women know how to outsource anyway? I outsourced baby!
So things were moving along while the guys started building the deck. There are a ton of different affordable deck building lumbar options and I will admit I lucked out. I was searching for stains on regular old lumbar, when my beloved carpenter gave me an awesome surprise. He had a bunch of Ipe wood left over from a project he had done years earlier. It is an exquisite wood that is very durable (and expensive!) so he had never wanted it to go to waste. It’s way too heavy to build any indoor furniture with, so he had it sitting collecting dust in his warehouse.
After years of working together, he explained he wanted to gift it all to us in order to take this little Quarantine Project up a few notches and ease the burdens of Quarantine summer. I edited the design to fit exactly how many beams he had available for us and ended up only having to buy ONE extra beam for a piece we were missing. I had honestly planned on staining any lumbar to the color of Ipe anyway, so this was a huge, lovely and super generous gift!


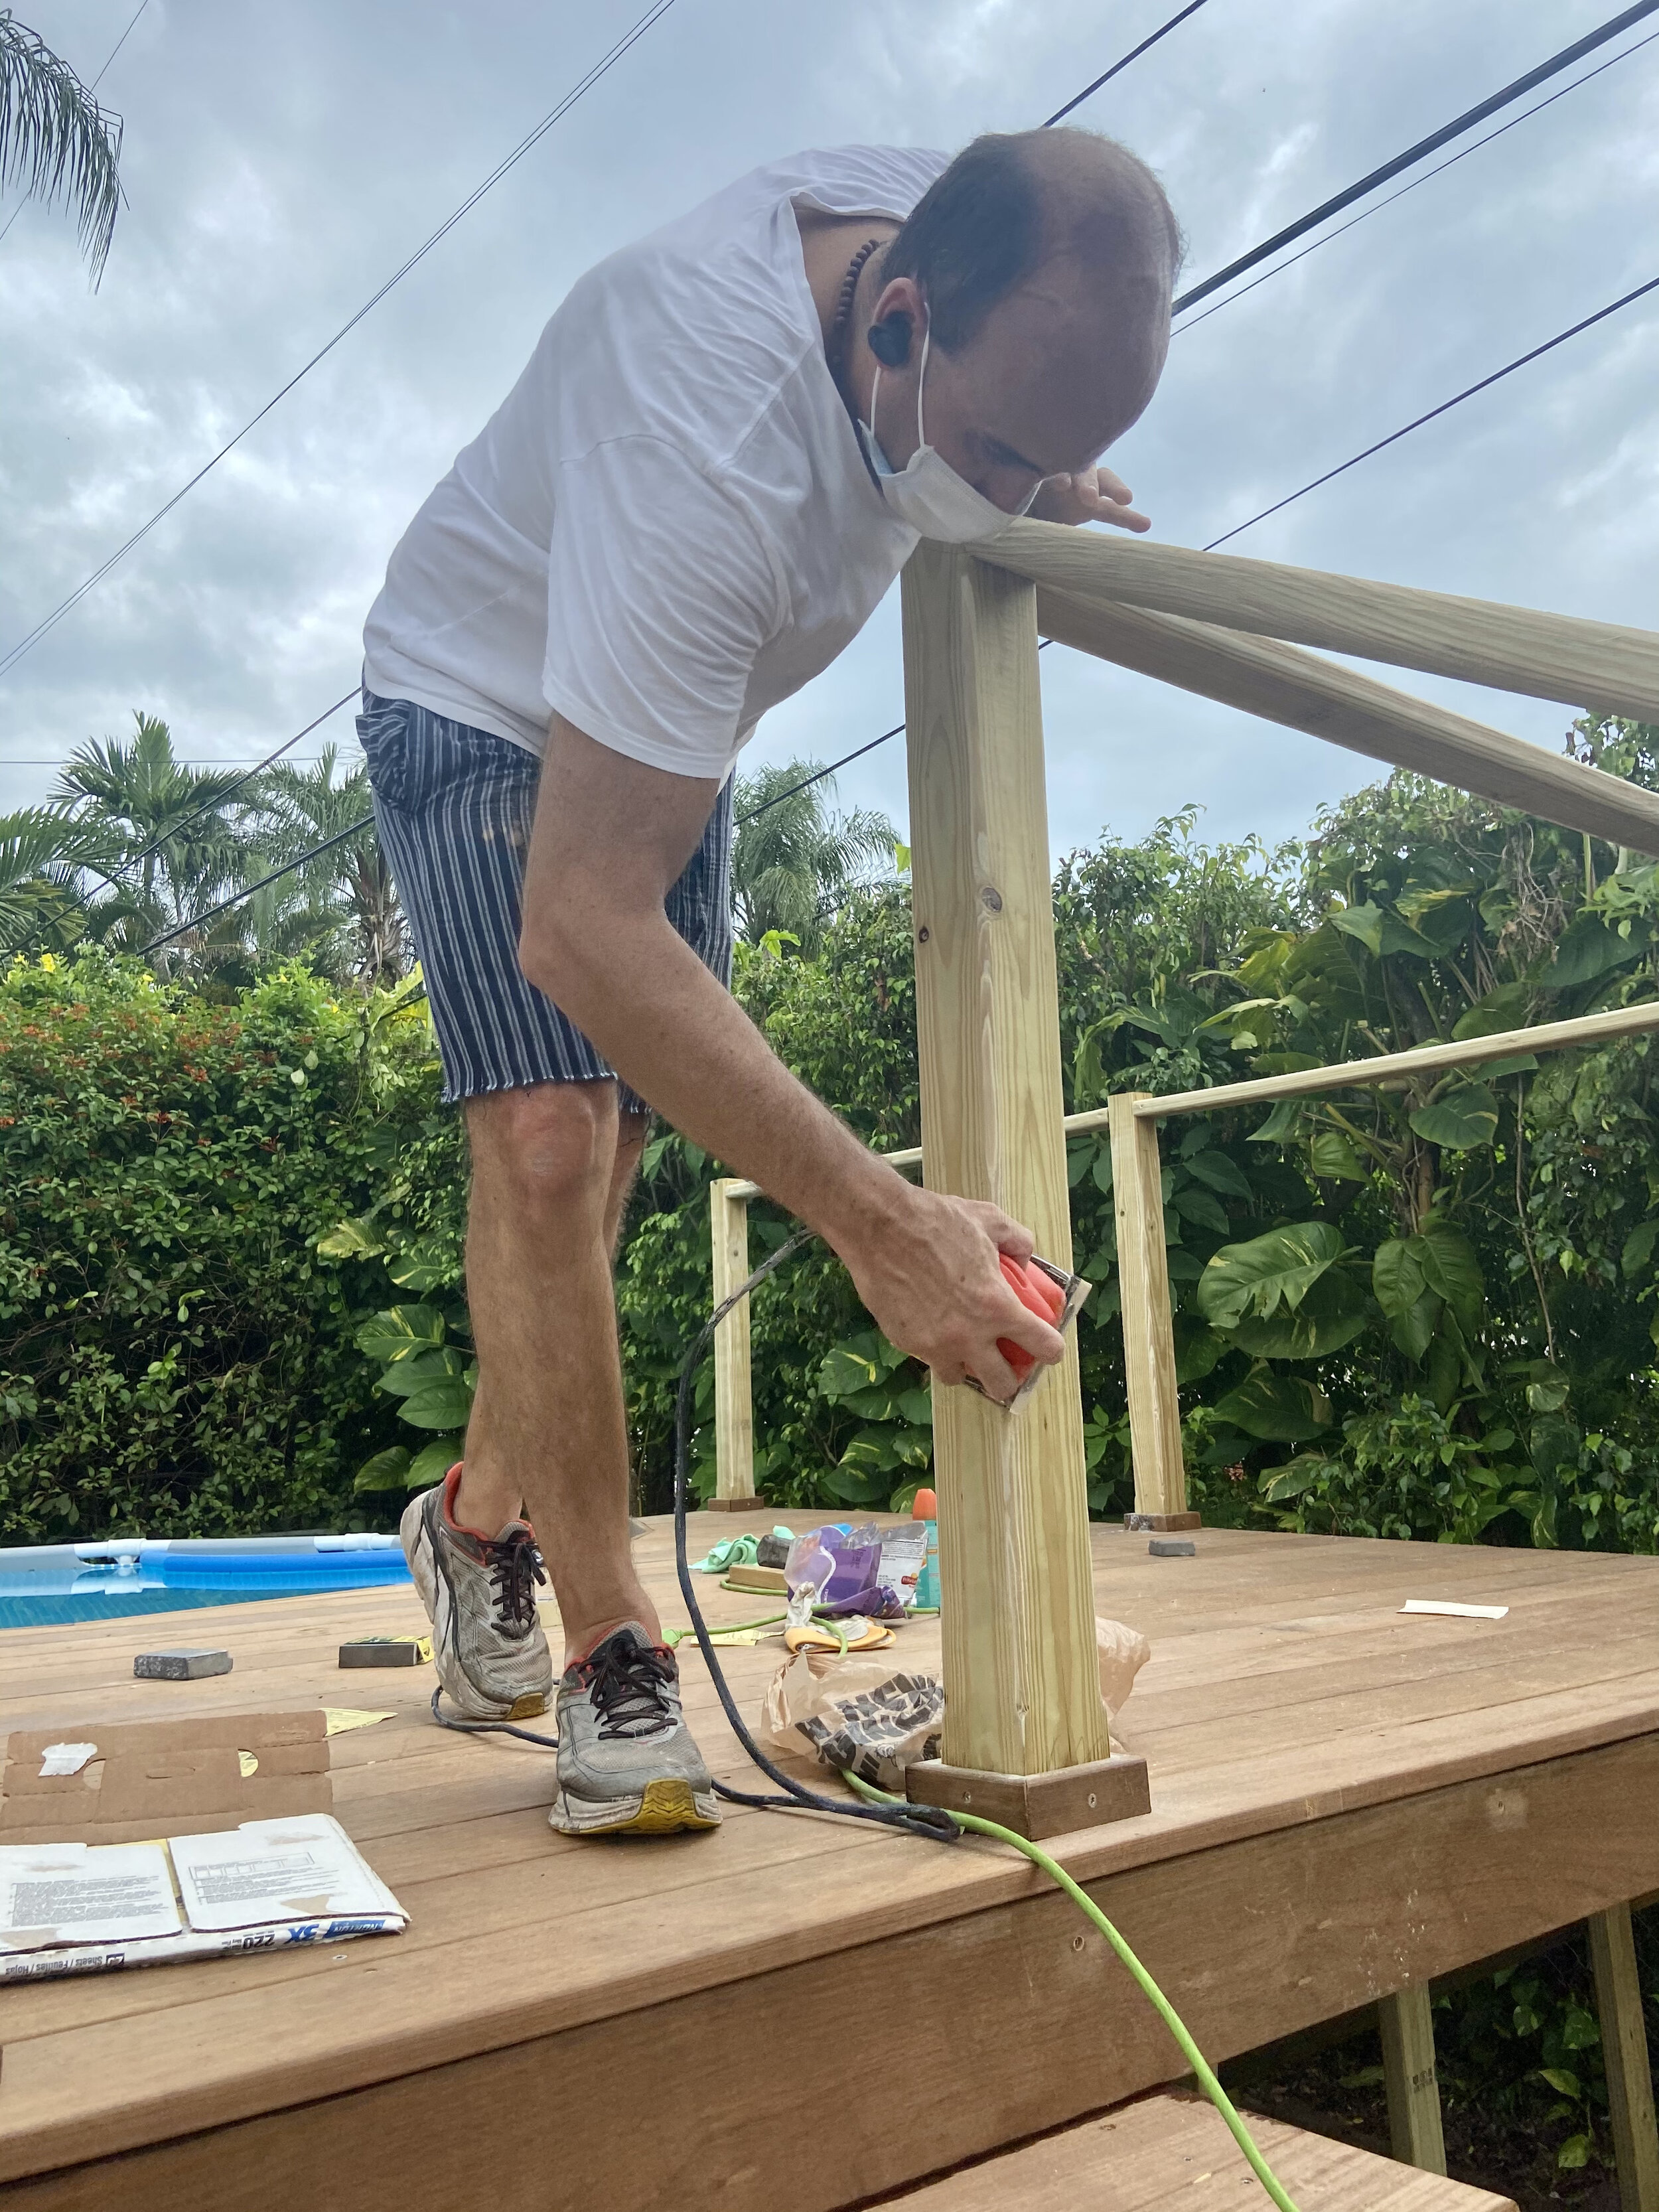
back to diy - sanding, painting and installing cable deck wire railing
When the guys were done, Fabio and I sanded the entire deck ourselves, painted all the banisters and posts the same white as the exterior of the house and treated the Ipe wood with this great protective oil. A little elbow grease was actually feeling really good as we neared the finish line! Plus we already had the pool set up to jump into after hot work days. We also bought these awesome end post caps with integrated solar powered lights that finished off the look and added some light at night!
The deck was finally complete and we wanted to do the railings ourselves to save a ton of money! I planned on a wire rail system to also give the illusion of more space. Wood rails would have immediately shut out any view we had and closed up the space. Most wire railing systems were so expensive, even at the DIY level, until we finally found some awesome YouTube instructional videos to combine a few different types of products and give it the industrial, yet chic vibe we were going for without a ton of complicated hardware.
The trick was these swage lag screw sets from a company called Muzata that came with detailed instructions on Amazon on how to install. It was the minimalist look we were going for that was still as secure as possible. So…I was officially buying my first wire crimper set and felt very professional : ) The key was using marine grade stainless steel everything from the swage lag screws to the actual T316 stainless steel wiring…and even on the screws used to build the deck in order to avoid future rusting. It was quite a bit of math figuring out how much of each item we needed per how many rows and linear feet we wanted to install, but very satisfying. And thank goodness that crimper set came with a protective glove to run all those feet of wiring!

backyard privacy solutions
We then started planning a solution for privacy from the street and neighbors, especially since we would be a few feet up on the deck. I considered tall outdoor curtains for an opening on the side of our house, but was surprised to find out that one of our favorite hedge plants was more affordable from one of our local nurseries than buying curtains. We did a bit of research and learned that the Clusia Plant hedge could stay in its pot for a couple of years with proper soil and fertilization.
This allowed us the flexibility of not having to plant it. We thought that if we were to build an in-ground pool at some point, we would have to tear down our existing barely-there-damaged-by-hurricanes fence anyway, thereby allowing space for the diggers to enter our backyard. Why plant such great hedges, only to dig them up later. Plus, when they’re in pots they have the added height that we needed anyway.
A fun surprise was that when I started looking for white pots to repot them…I realized that the style I was most drawn to was the same shape as the black nursery pots they were already in. Like with so many things in life, SPRAY PAINT to the DIY rescue! I sprayed them all white and saved a couple hundred dollars there too. Again, why waste money on something that may only be a temporary solution if we were going to plant them down the line?
landscaping around the above-ground pool
Fabio got to work on mulching the surround of the pool, as well as helping me layout the wonderful round stepping stones. They were a concrete composite made to look like natural coral to match our real coral Keystone steps off the house, which look beautiful but are complicated to care for. I got them in two sizes and laid them out in a curve pattern right up to the deck stairs.
No more little dirty feet entering the pool! Plus, the slight curve mirrored the curve of the pool, again creating a more dynamic look. Plus, a curvy path can be more fun than a straight one. It feels like there’s a fun journey and destination ahead. And of course it creates the illusion of distance, when there isn’t much to begin with, making the whole space feel larger. Sod and white marble chip rocks along the perimeter of the house completed the design and set up a modern color-block style scheme that upped the chic factor.
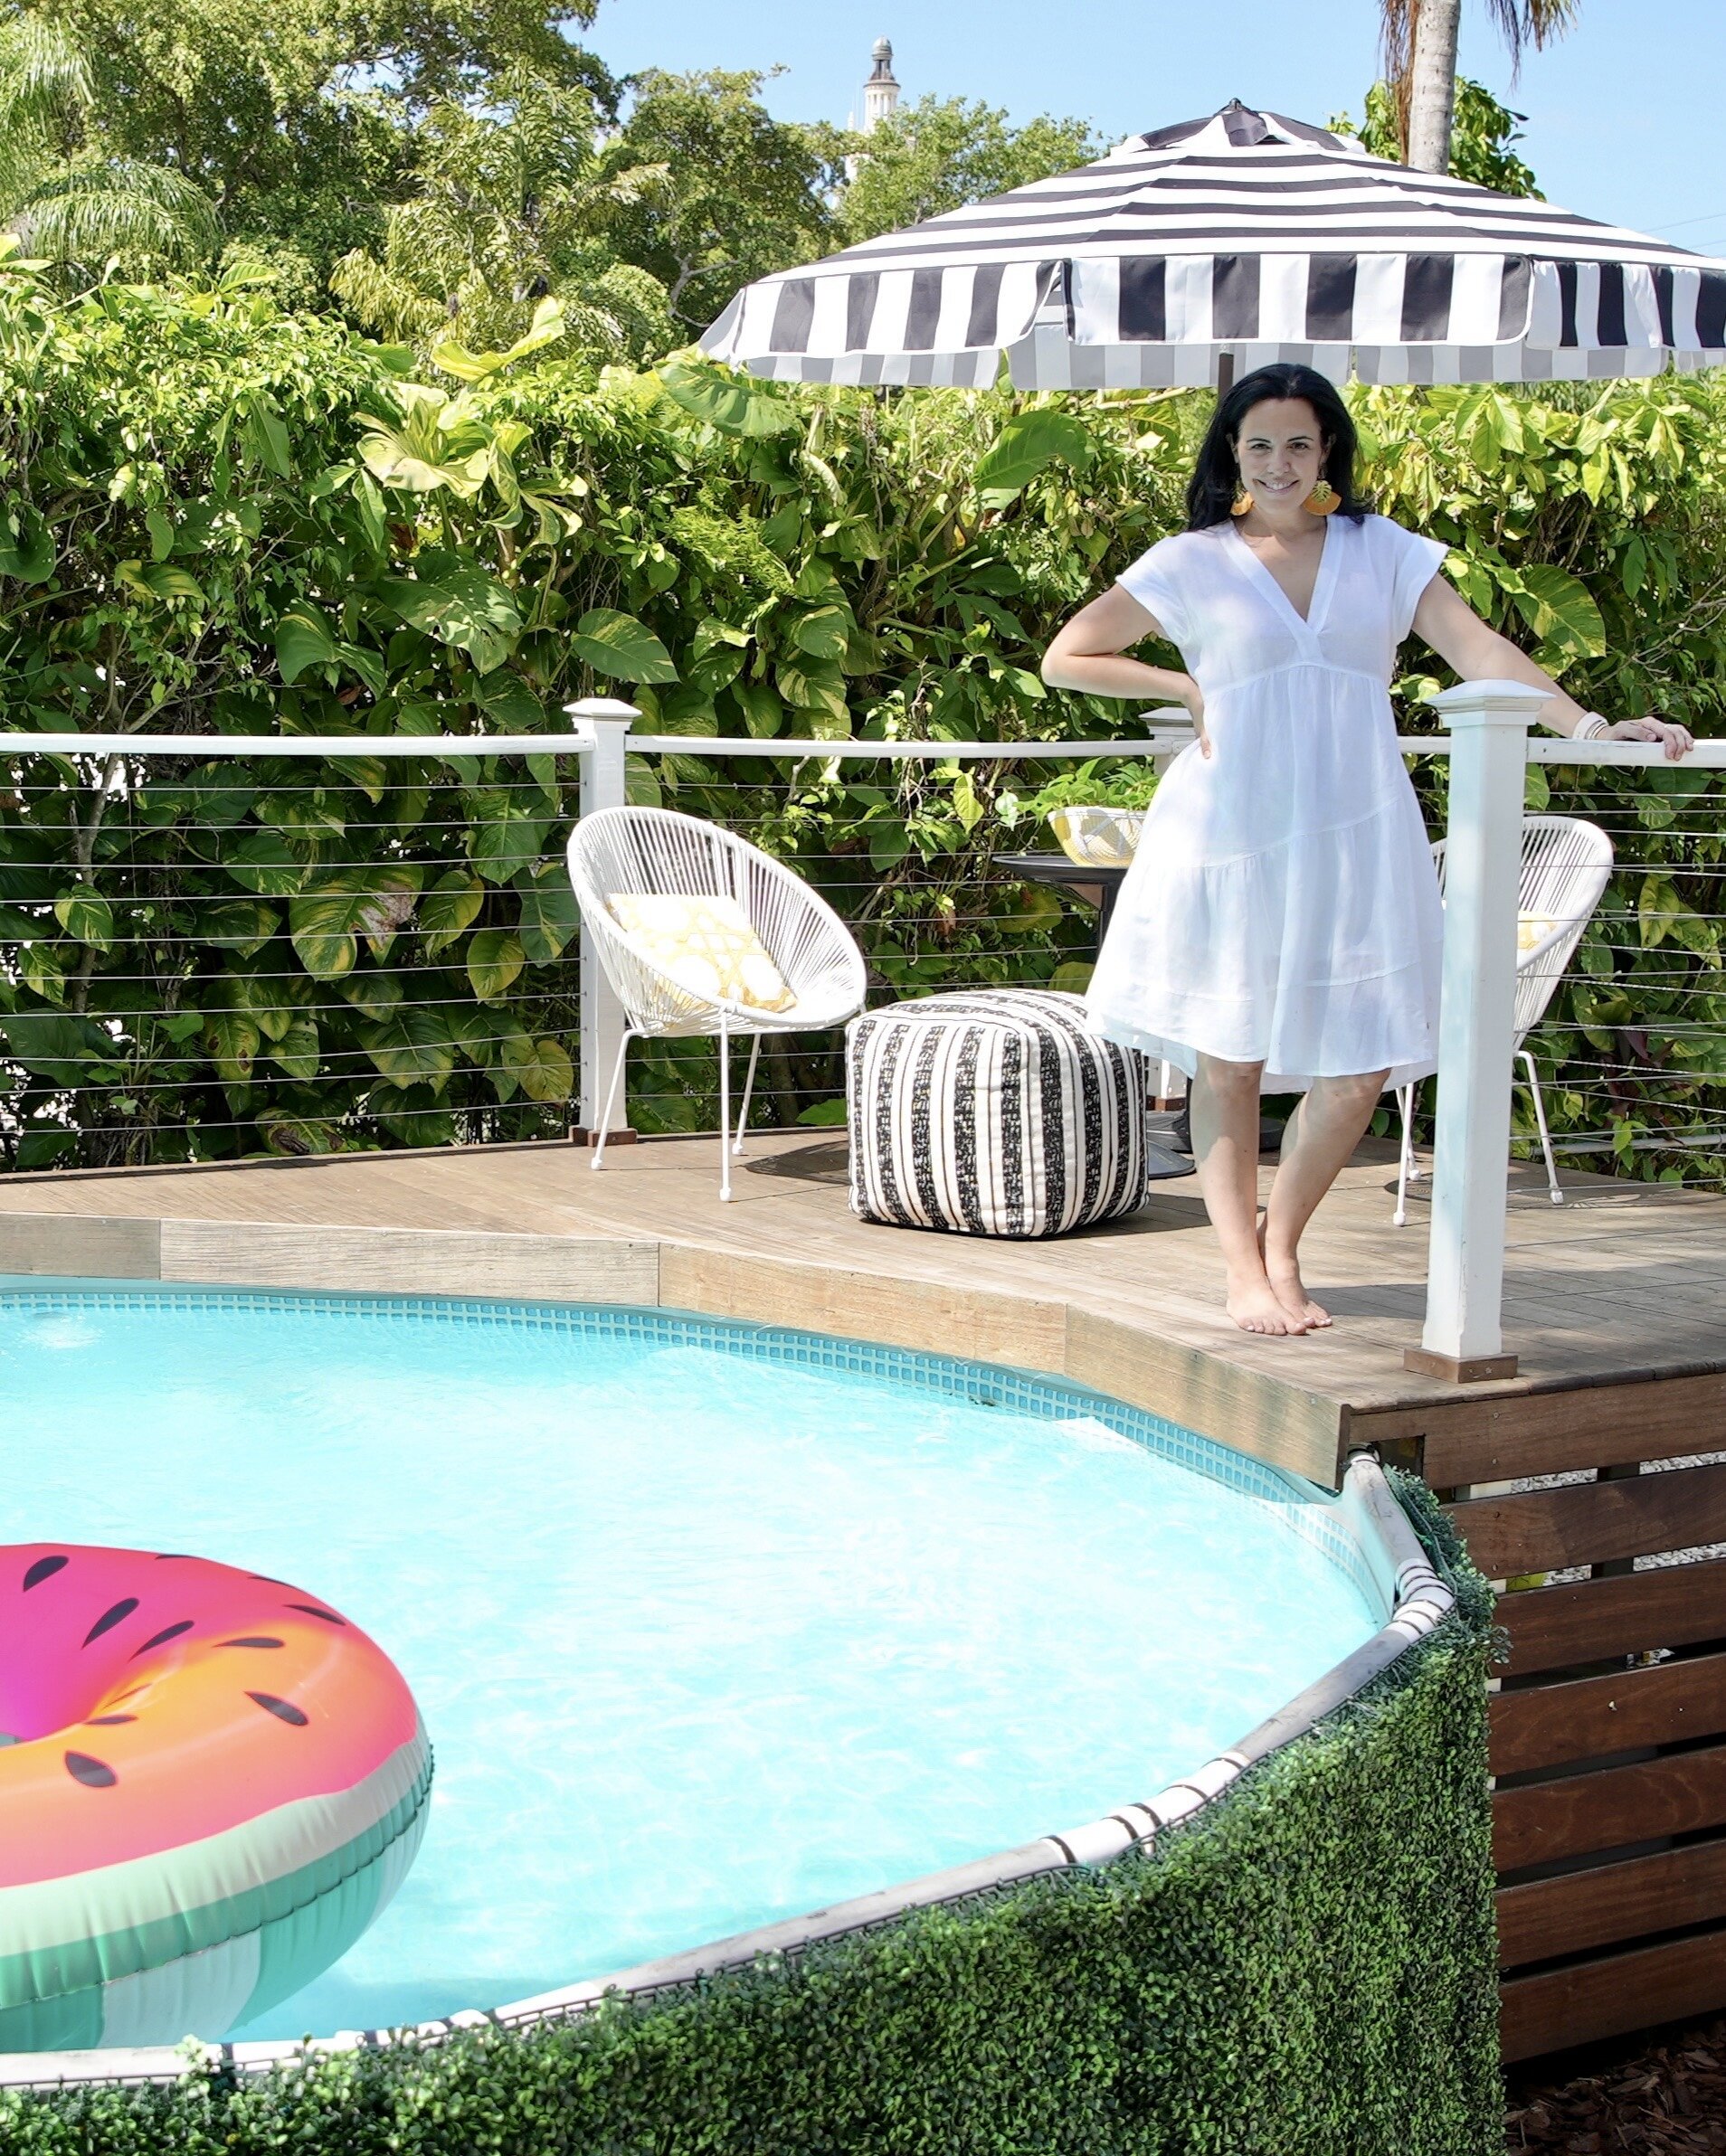
styling an above-ground pool for function and style
As Fabio moved onto hanging the ever-popular string lights, I focused on accessorizing and designing the backyard space. I went for a clean black and white look with pops of lemon yellow. I started with this striped umbrella from one of my favorite brands, Safavieh. It gave the clean, modern feel I was after and set the tone. The three colors worked well with the dark wood tones of the Ipe and the mulch we selected.
The yellow ottoman we had last year did not pass the test, so we recently swapped it out with this one from Target, bringing back the black and white vibe. The egg style chairs from Target are actually SUPER comfortable, even when you’re sitting on them wet with no towel. As easy as you can get for maintenance and very functional! The ones we got last year with black legs are no longer available. But these with gold legs are in this year’s collection and would have worked just as nicely. I recently put them in a client’s house and she is loving them as well! Très chic!
When you don’t have a ton of space, uniformity in color and form goes a long way! It’s good to keep the color palette simple. Down to having the new pool towels join the color scheme. Small details really helped bring together the whole design. I had first considered striped yellow towels, but when I found those lemon ones from Pottery Barn on clearance, I couldn’t pass them up. It added a touch of whimsy. The lemon slice basket that I sometimes use as a planter, as well as a basket to keep sunscreen bottles out when we have friends over, was just the HomeGoods Gods smiling down on a lucky shopping day. Final touches like the great outdoor black and “rattan” planters from Kirlands were a way to warm up that white wall with some greenery and style. And my mirrors were actually the fourth style we tried in the space until we found these on another lucky HomeGoods adventure. Here are some similar ones at Overstock. They add a mean style punch to any space!
Add a few cool floaties for pops of color and fun, perky colorful pillows, and everyone is happy! Every little detail was falling into place so nicely. So worth it!
form and function matter in addition to style
And maybe it’s my training as an autism parent before I had the little’s but there is always a routine and system in our home. It’s how I set up my spaces and the kids mostly follow suit. It can be as simple as hanging the towel hooks in the right place. Think through your space and flow and put things where they are truly needed. There were adorable places to consider hanging towel hooks, but ultimately we really needed them by the door to the house. A great IKEA bench and wall panel modular Äpplarö system from their outdoor collection met all our needs. It’s held up so nicely the entire year and we’re very pleased! It has a bench for extra seating while you dry off; under-bench storage for pool necessities; hooks for the towels, wet suits and googles; and a shelf for some styling and extra storage.
game changer
This little backyard was a dump when we first bought the house. A huge, dirty tree covered it almost entirely with dangerous roots and branches hitting the house. It’s gone through various iterations over the past 14 years. The playground set-up was lovely for its time, but without a doubt, our current set-up is by far my favorite and best meets my family’s needs…especially during Quarantine. The greatest compliment I received from an ex-client and friend that saw it, is that it looks as fabulous as a chic boutique hotel. I’ll take it!! South Beach ‘ain’t got nothing on this family of 6! But the greatest JOY of all has certainly been the countless memories we have made there as a family over the past year.
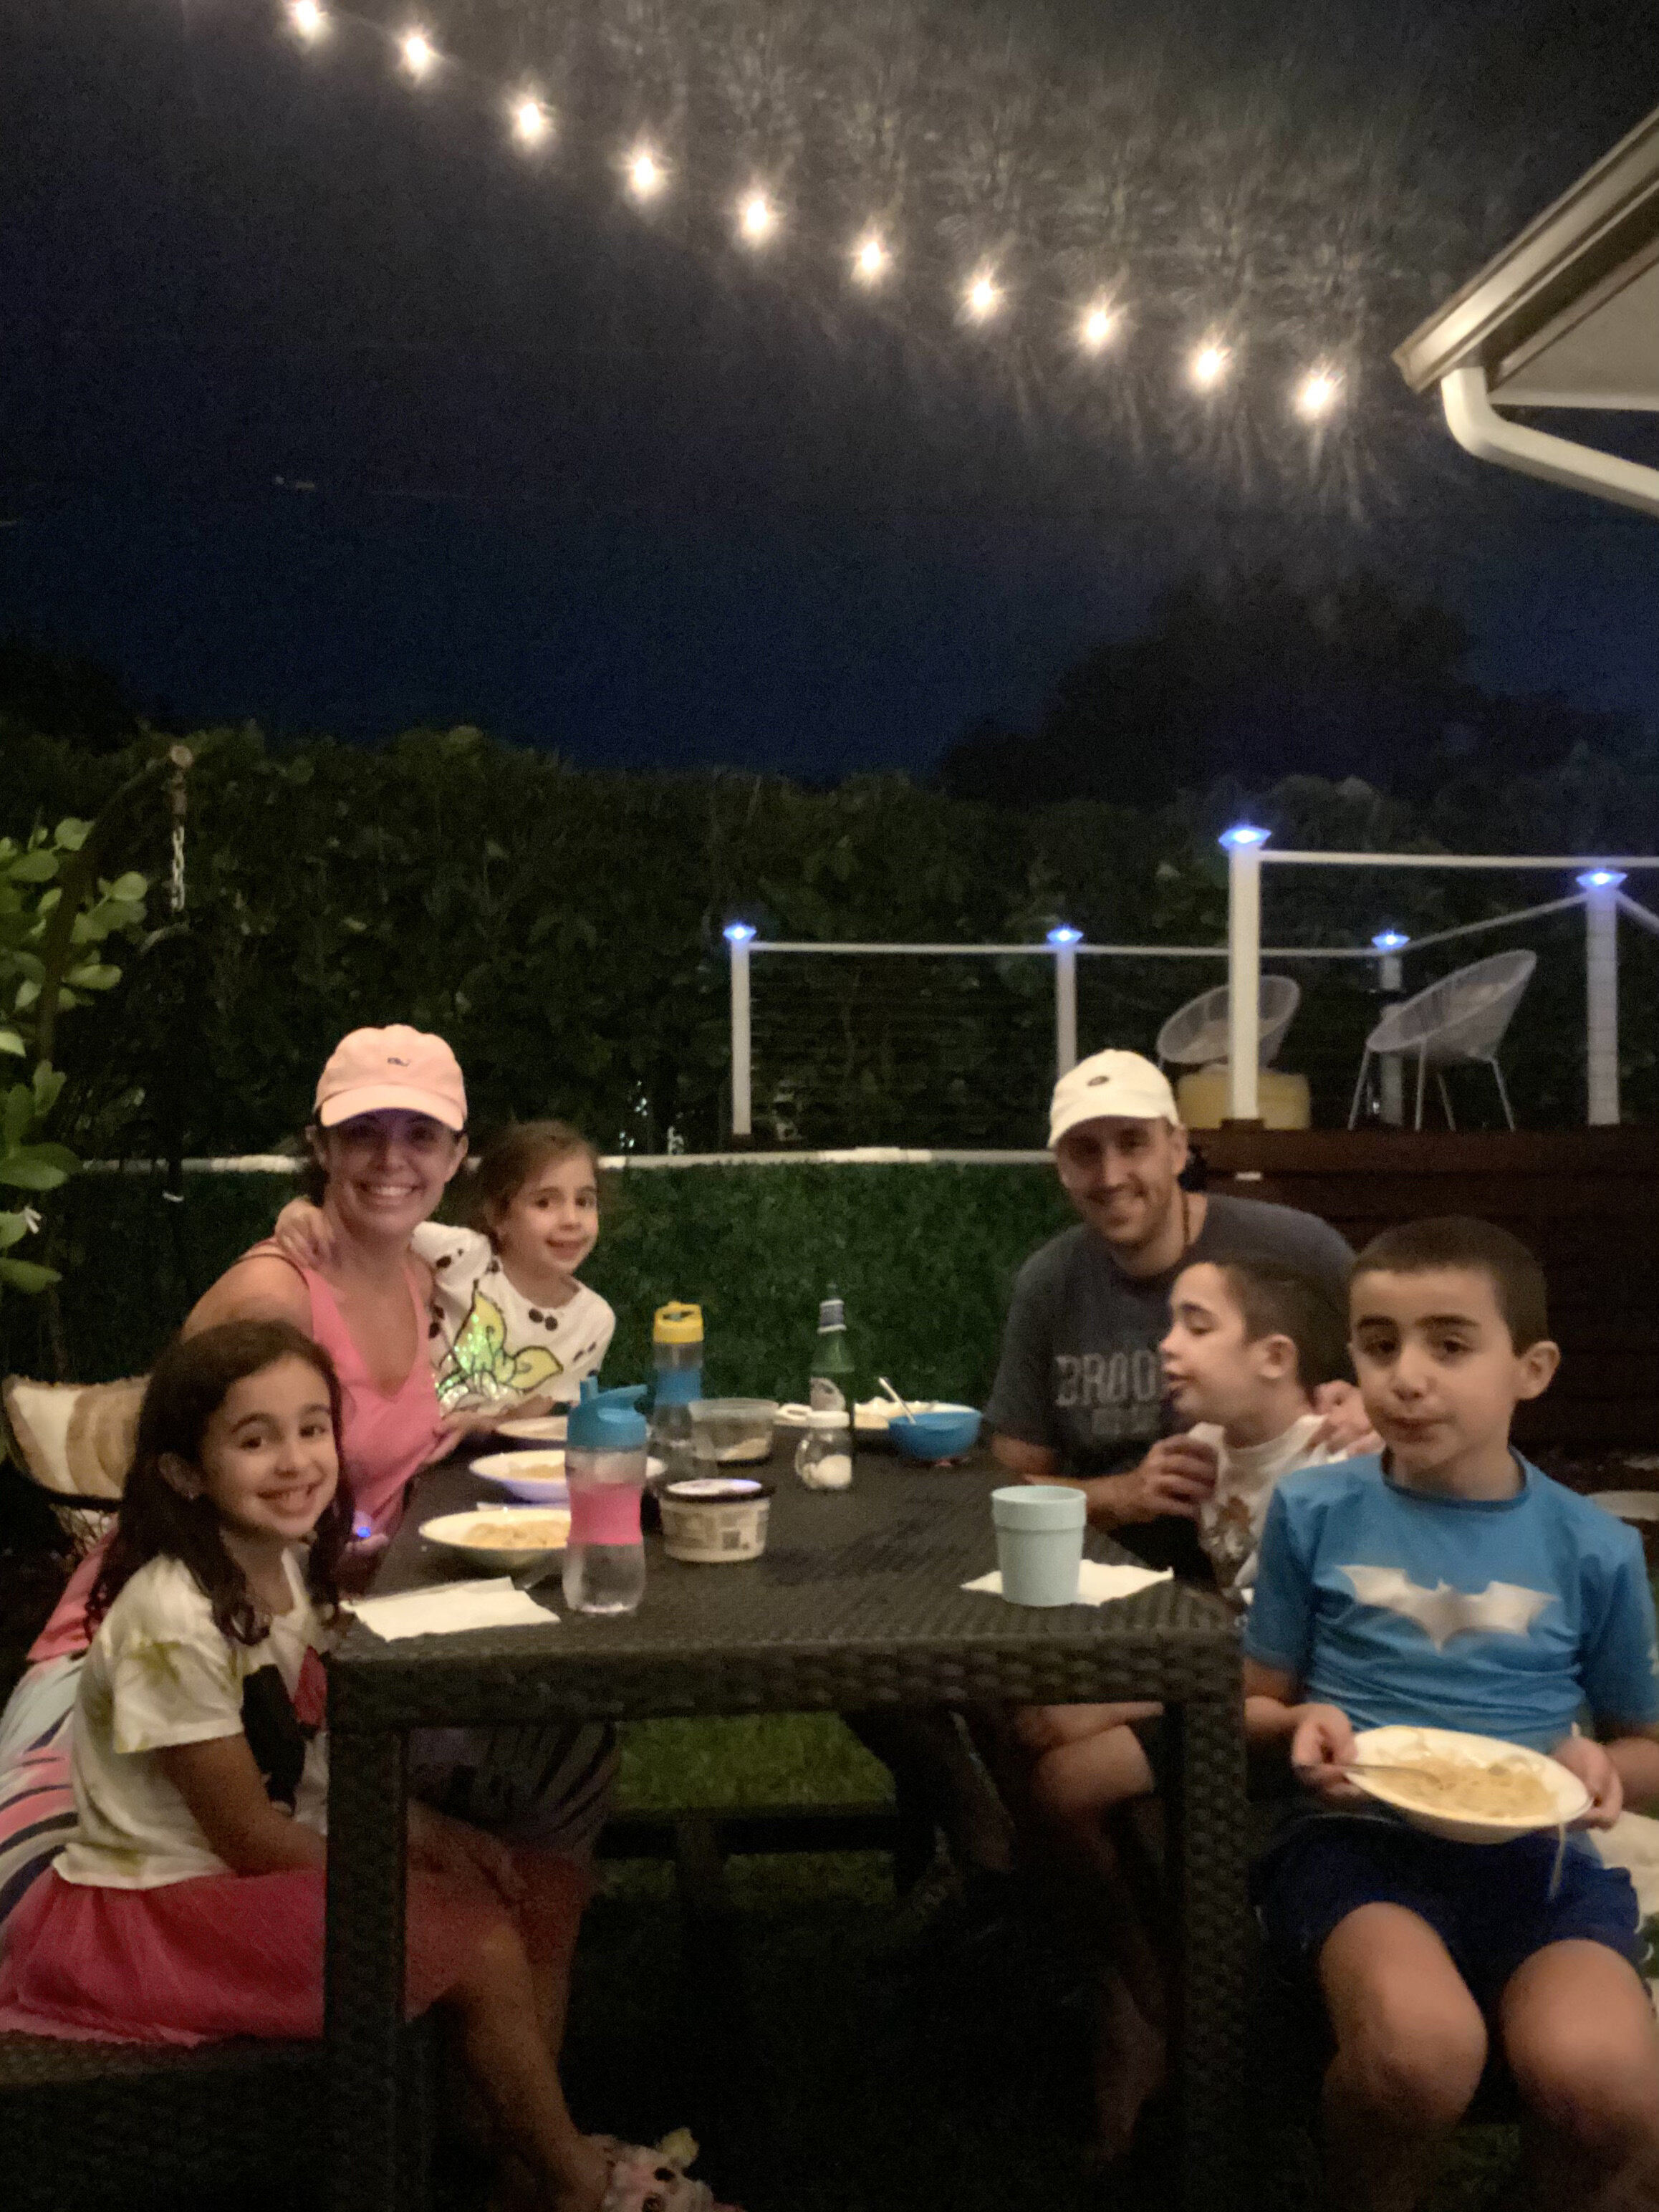
It was a spot for chilling out after long days of homeschool learning…a wonderful place to enjoy outdoor dinners on the beautiful, cold winter nights we had this year. Especially under the twinkling bistro lights. And even though I thought I might have been the only one that enjoys just the great sight out of our family room windows, the kids always tell me how cool our spot looks. We are enjoying it so much, we have postponed any immediate plans for an in-ground pool. It is serving our family well and as the world continues to open up more, we can’t wait to have family and friends over to share the fun!
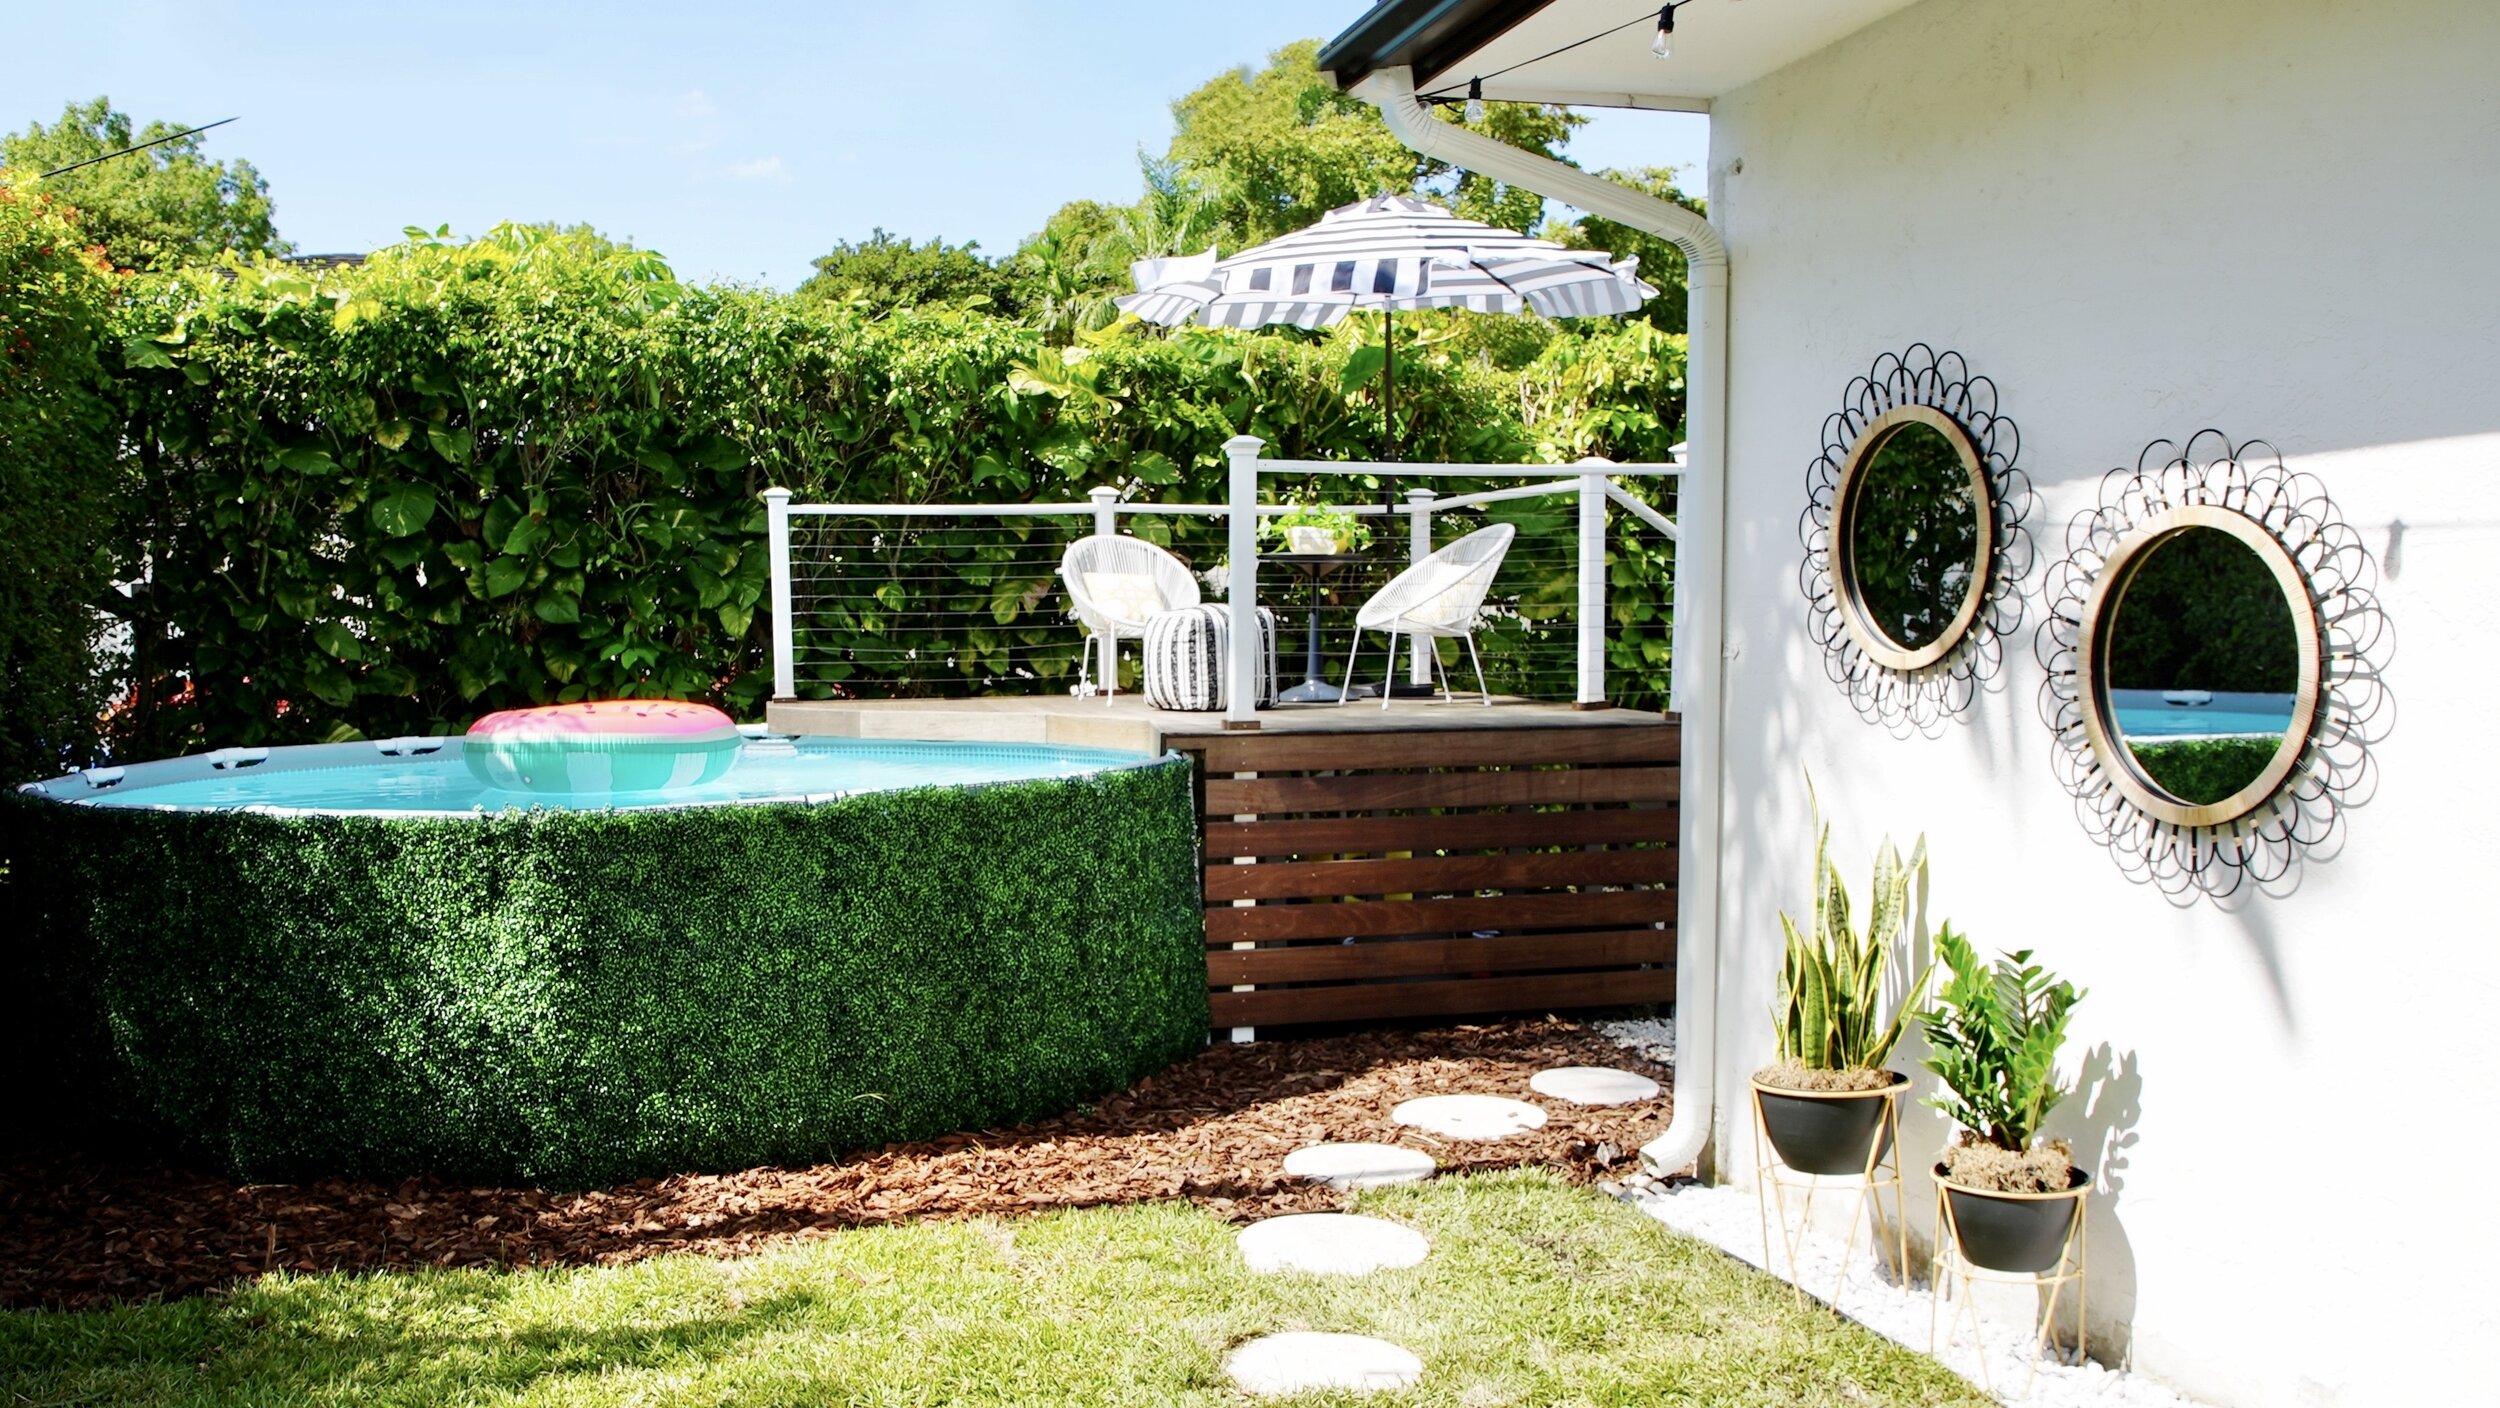
Loving every inch of our new backyard space!

The view from the pool back to the house with our Ikea storage system and hanging chair with patio umbrella!


now it’s your turn
Again, I’ve included links to all the selections I made above throughout the post. Let me know if you have any questions below or need any more product information. And if you found this information to be helpful, please consider sharing it with others!
But most of all, if you take anything away from this, I hope it’s that difficult circumstances can create a new way of looking at things, even after years and years of living with them. Be open to possibility and know that it doesn’t always take a ton of money to get going on some of your plans to live comfortably and beautifully! Come back and share your yard updates as well!
Happy Summer everyone…stay safe and stylish!
Disclaimer: Some links in this post are affiliate links. If you click through and pay for a product, I’ll receive a slight compensation at no cost to you. I only recommend services or products I use for my home or those of my clients (clearly!)
Professional Photography by Mateus Image Production

